Introduction to Roof Flashing Repair
Roof flashing is a crucial component of any roofing system, designed to direct water away from vulnerable areas such as chimneys, vents, skylights, and roof-to-wall intersections. Over time, flashing can deteriorate due to weather exposure, poor installation, or material wear, leading to leaks and structural damage. Repairing roof flashing against walls requires careful attention to ensure a watertight seal and prevent future issues. For a broader understanding of roof repair techniques, see our comprehensive guide to roof repairs.
Understanding Common Flashing Issues
Common Issues with Roof Flashing:
- Corrosion and Rust: Metal flashing can rust over time, compromising its effectiveness. Learn more about repairing metal roofs in our guide to fixing a tin roof.
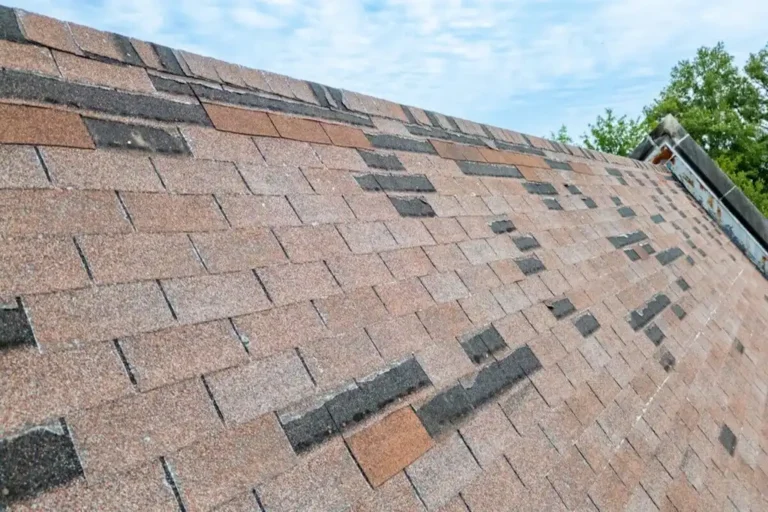
- Loose Flashing: Shifting materials can cause flashing to separate from the roof, allowing water to seep in.
- Cracks in Sealants: Gaps in sealants or loose flashing near roof penetrations are common culprits of persistent leaks. Learn more about identifying and fixing these problems with our expert tips on addressing flashing issues.
Best Methods for Repairing Roof Flashing
1. Cleaning and Inspecting Flashing
Before any repairs, clean the area around the flashing using a wire brush to remove dirt, rust, or old sealants. Inspect for signs of cracks, corrosion, or damage.
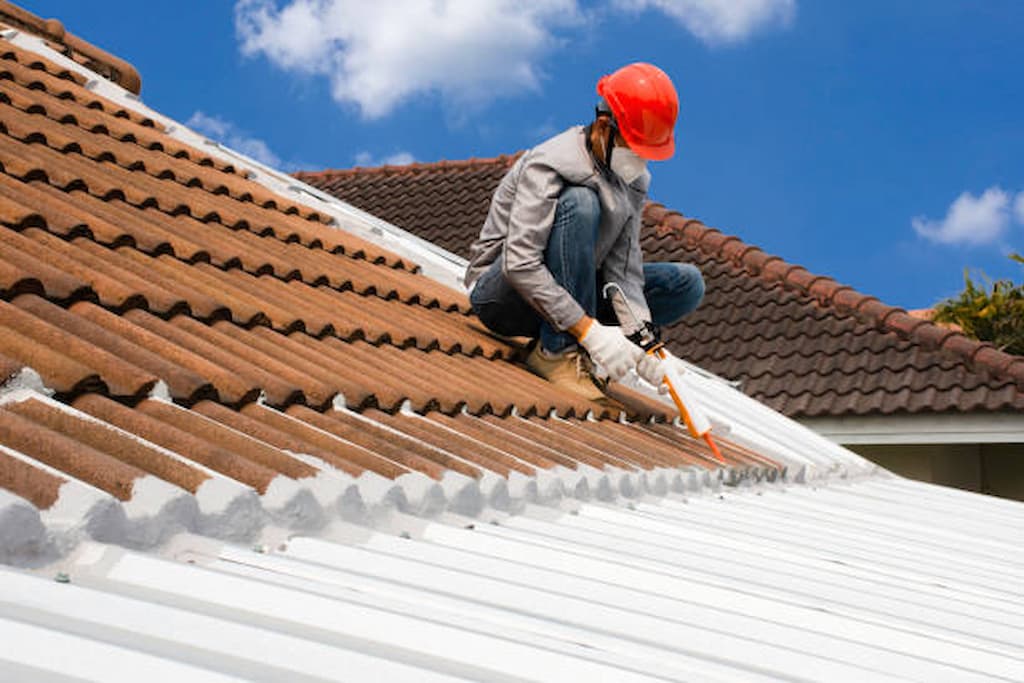
2. Applying Flashing Sealant
For minor cracks or gaps, apply a high-quality roofing sealant designed for metal flashing. Use a caulking gun to fill cracks and prevent water seepage. For more on patching techniques, see our guide to patching leaky roofs.
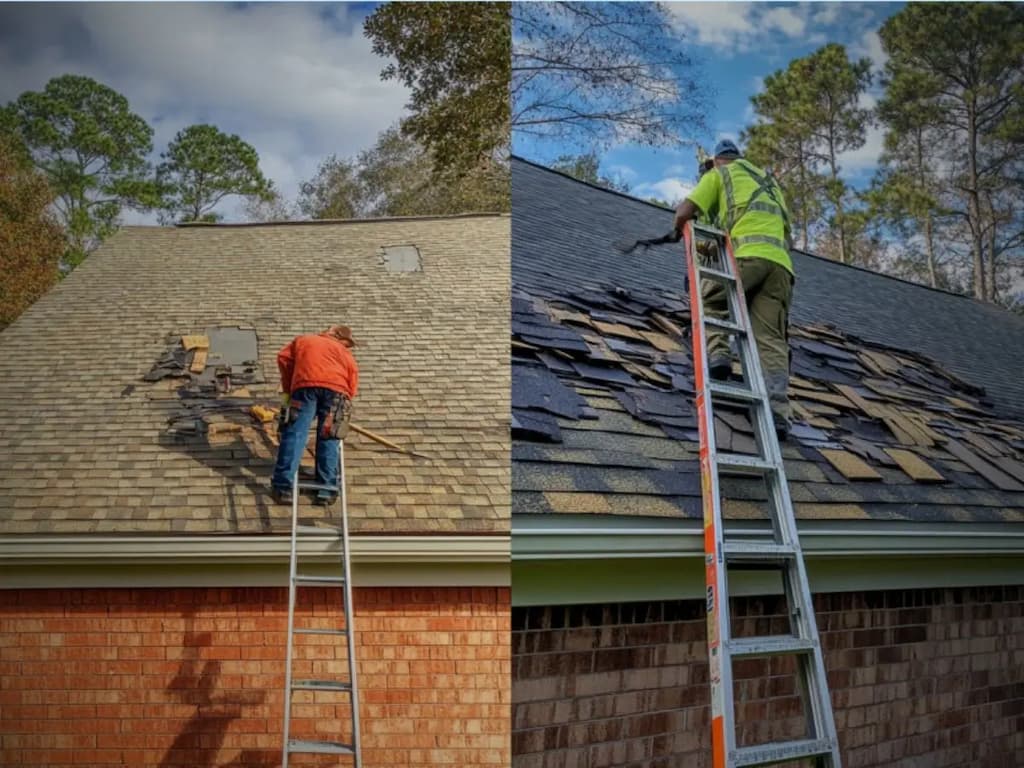
3. Replacing Damaged Flashing
If flashing is severely damaged, replace it entirely. Remove old flashing, clean the area, cut new flashing to fit, and secure it with roofing nails or screws. Ensure the new flashing overlaps existing materials by a few inches.
4. Re-Bedding the Flashing
If flashing has come loose, re-bed it by removing old bedding compound and applying fresh roofing cement. Press the flashing firmly to ensure a secure bond.
5. Using Waterproofing Membranes
Enhance repairs with a waterproofing membrane underneath the flashing for added protection against leaks.
6. Replacing Flashing Around Vents and Chimneys
Replace flashing around chimneys and vents entirely if damaged. Use flashing sealants or roofing cement for added protection.
How to Seal Roof Flashing Against Walls
Sealing roof flashing against walls involves ensuring a watertight connection between the flashing and the wall. Here are the steps:
- Clean the Area: Remove any debris or old sealants from the flashing and wall intersection.
- Apply Roofing Cement: Use a generous amount of roofing cement to create a solid bond between the flashing and the wall.
- Secure the Flashing: Ensure the flashing is properly aligned and secured with nails or screws.
- Seal the Edges: Apply additional sealant around the edges to prevent water intrusion3.
DIY vs. Professional Repair
While DIY repairs can be cost-effective for small fixes, hiring a professional offers several advantages:
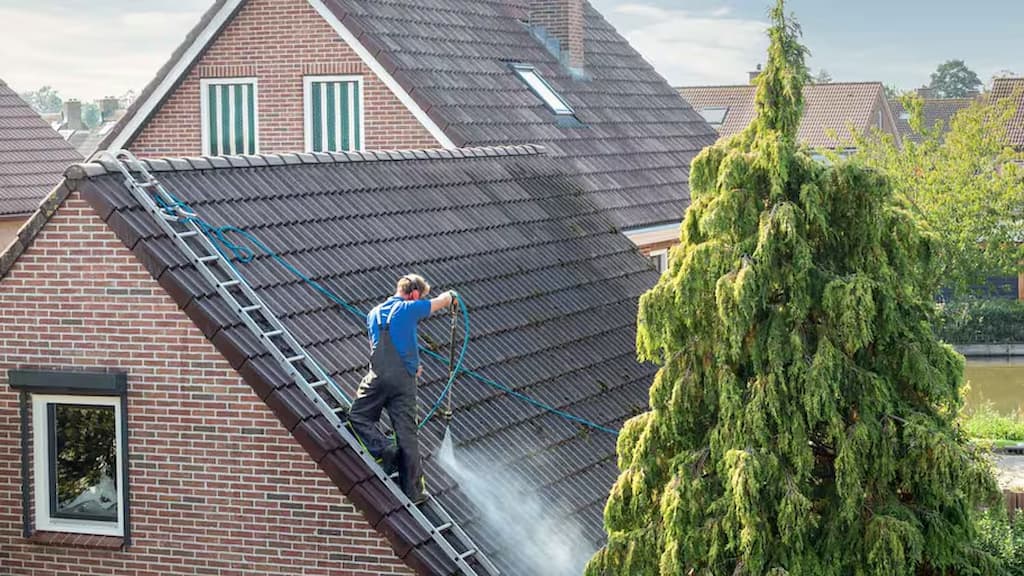
- Safety: Professionals are trained to work safely at heights.
- Expertise: Contractors are experienced in identifying and repairing flashing issues.
- Comprehensive Service: Pros can inspect the entire roof for other potential issues.
If you’re considering DIY repairs, our DIY roof repair guide can help. For professional services, learn more about what professional roofing companies do.
Conclusion
Repairing roof flashing against walls requires careful planning and execution to ensure a watertight seal and prevent future leaks. By understanding common flashing issues and using the right techniques and materials, homeowners can effectively maintain their roofing system. Whether choosing a DIY approach or hiring a professional, the key is to ensure that the flashing is securely in place and properly sealed to protect against water damage.