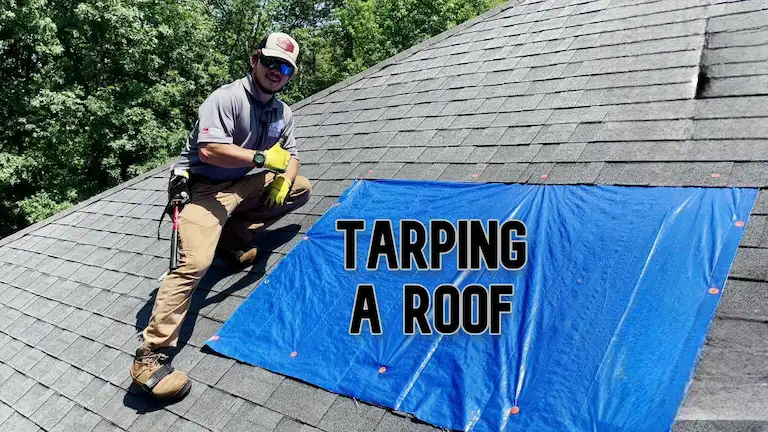
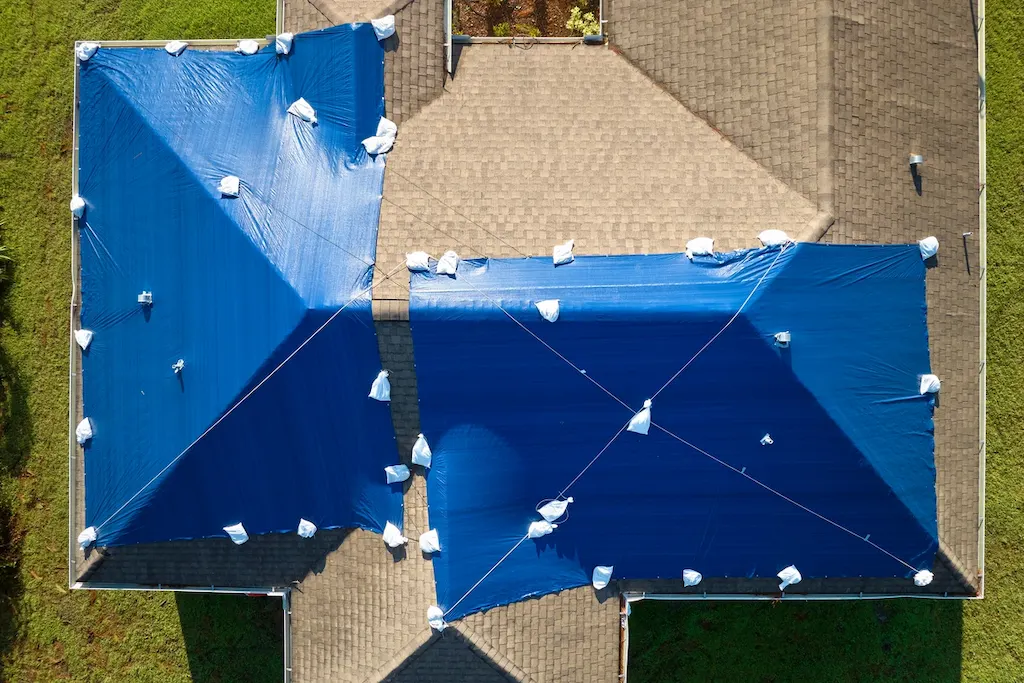
Dealing with a leaking roof can be stressful, but using a tarp as a temporary fix can prevent further damage while you wait for professional repairs. This guide will walk you through the process of tarping a roof leak effectively and safely. For more DIY roof repair tips, check out our comprehensive guide on tackling small jobs and minor repairs.
Why Use a Tarp for Roof Leaks?
Tarping your roof is an essential emergency measure that:
- Prevents water from entering your home
- Protects your belongings from water damage
- Buys time until professional repairs can be made
- Is cost-effective and relatively easy to implement
Materials and Tools Needed
Before you begin, gather the following:
- Heavy-duty vinyl tarp (large enough to extend 3-4 feet beyond the damaged area)
- 1×3 or 2×4 wooden boards
- Roofing nails or screws with washers
- Hammer or power drill
- Sturdy ladder
- Safety harness
- Gloves and non-slip shoes
- Measuring tape
- Utility knife
Step-by-Step Guide to Tarping Your Roof
1. Assess the Damage
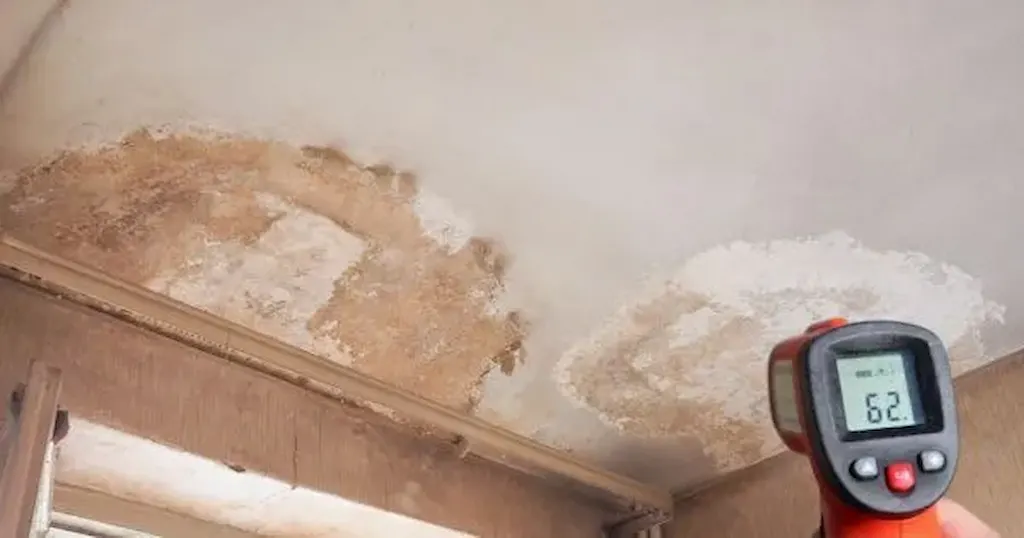
Carefully inspect your roof to identify the source and extent of the leak. Look for missing shingles, visible holes, or areas where water is seeping through. This assessment will help determine the size of the tarp needed and the best placement. For more detailed information on identifying roof damage, see our post on how to repair a hole in your roof.
2. Measure and Cut the Tarp
Measure the damaged area and add an extra 3-4 feet on all sides for proper coverage. Cut the tarp to size if necessary, ensuring it’s large enough to extend past the roof’s peak.
3. Prepare the Tarp
Roll one end of the tarp around a 1×3 wooden board at least twice. This “roll” will act as an anchor and should be placed against the roof to prevent water collection.
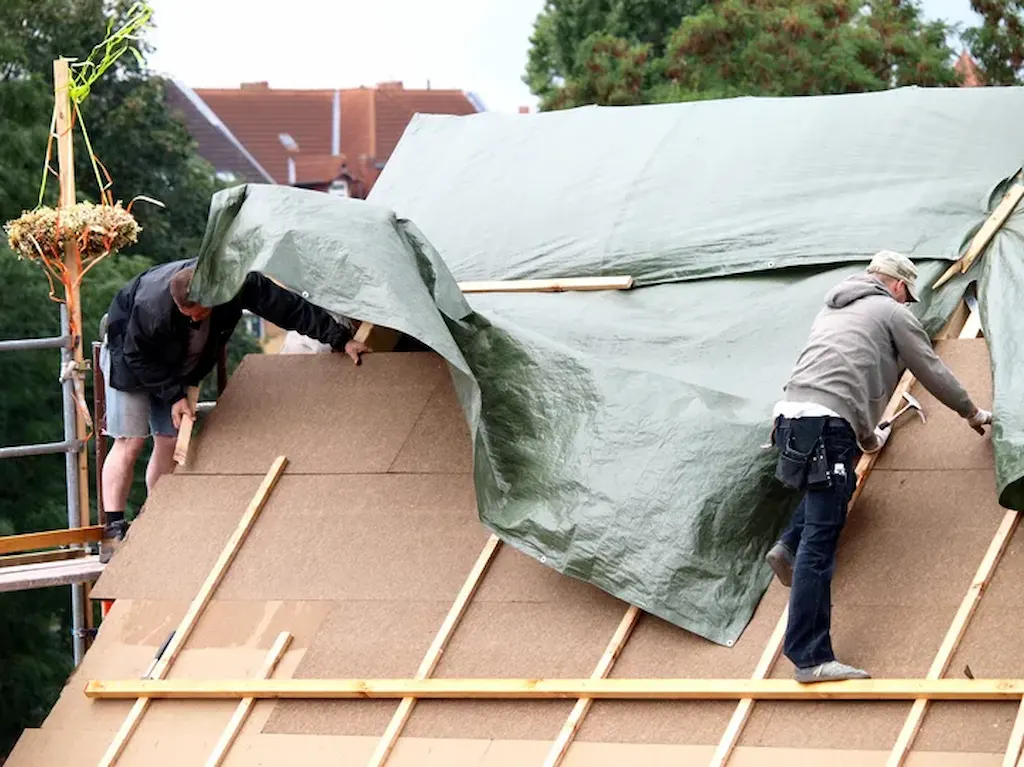
4. Position the Tarp
Carefully place the tarp over the damaged area, ensuring the anchored end is on the undamaged side of the roof. The tarp should extend over the ridge and down the other side several feet beyond the damage.
5. Secure the Tarp
- Screw the anchored end (with the rolled board) to the roof sheathing.
- Pull the tarp tight and roll the opposite end around another 1×3 board.
- Secure this end to the roof as well, ensuring the tarp is taut.
- Use additional 1×3 boards along the sides of the tarp, screwing them into place to hold the tarp down securely.
6. Ensure Proper Water Flow
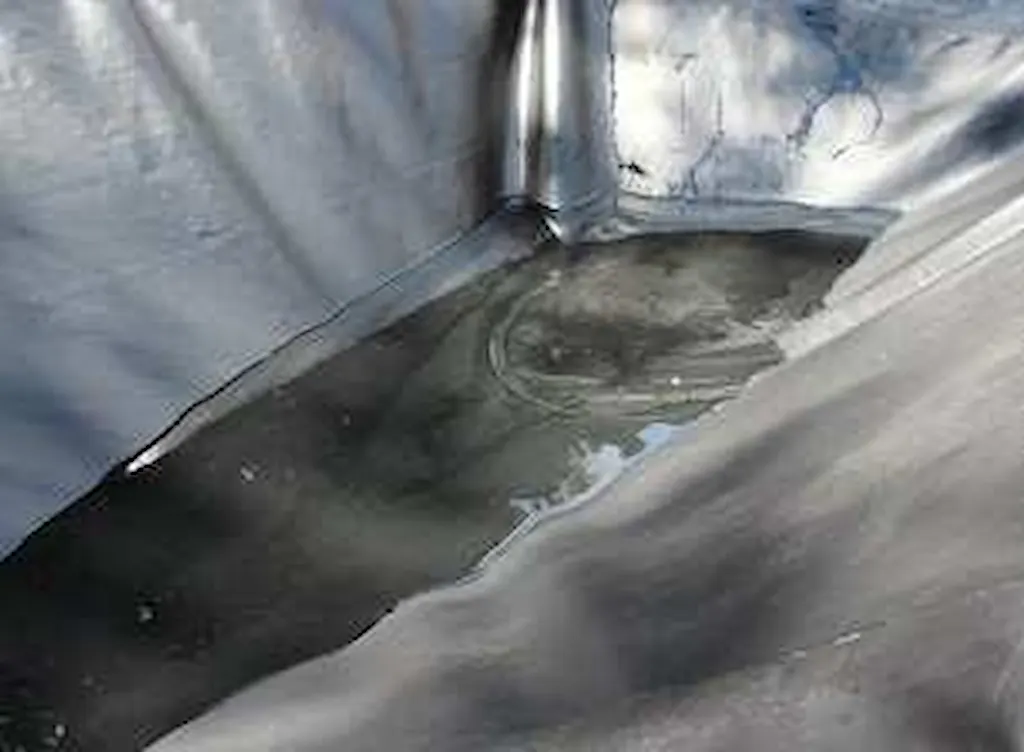
Position the boards at a slight angle to allow water to flow off the sides rather than pooling on the tarp. This prevents water dams and additional stress on your roof structure.
Tips for Effective Roof Tarping
- Choose the Right Tarp: Opt for a heavy-duty, waterproof tarp designed for roofing use.
- Safety First: Always use a safety harness when working on the roof, and have someone assist you on the ground.
- Check Regularly: Inspect the tarp periodically, especially after strong winds or heavy rain, to ensure it remains secure.
- Temporary Solution: Remember that tarping is not a permanent fix. Plan for professional repairs as soon as possible. If you’re dealing with a different type of leak, our guide on how to patch a leaky roof might be helpful.
Alternative Methods
Adhesive Roof Tarp
For those who prefer not to use nails or screws, adhesive roof tarps are available. These stick directly to the shingles but may be less secure in high winds. For another temporary fix, you can also look into temporary roof leak repair from inside. While tarping is a temporary solution, for expert advice on protecting your home with professional roof repairs, see our guide on roof repairs.
Weighted Tarps
In situations where drilling into the roof is not possible, use sandbags or bricks to weigh down the tarp edges. This method is less secure but can be effective for very short-term solutions.
When to Call a Professional
While tarping can be a DIY project, it’s often safer and more effective to hire a professional, especially if:
- The roof is steep or difficult to access
- The damage is extensive
- You’re uncomfortable working at heights
- Weather conditions are dangerous
Professional roofers have the experience and equipment to safely and effectively tarp your roof, ensuring the best protection for your home. for expert advice on protecting your home with professional roof repairs, see our guide on roof repairs.
Conclusion
Tarping a roof leak is an essential skill for homeowners facing unexpected roof damage. By following this guide, you can effectively protect your home from further water damage while awaiting permanent repairs. Remember, safety should always be your top priority, and when in doubt, don’t hesitate to call a professional roofing service.