Introduction to Roof Tarping
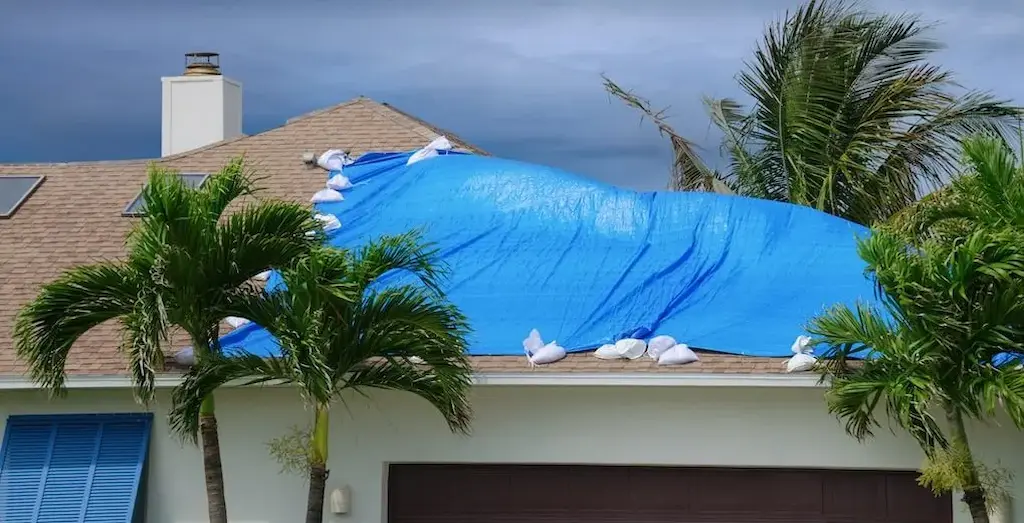
Dealing with a leaking roof can be stressful, especially during stormy weather. One effective way to protect your home from further damage is by using a roof repair tarp. This temporary solution, often referred to as tarp roof leak repair, is essential until professional help arrives. In this guide, we’ll explore how to cover a leaking roof, the best materials to use, and the steps involved in temporary roof repair tarp installation. For a broader overview of DIY fixes, check out our DIY Roof Repair Guide: Tackling Small Jobs and Minor Repairs in 2025.
Why Tarp a Leaking Roof?
- Prevents Further Damage: A tarp acts as a barrier against rain and wind, safeguarding your home’s interior from water damage.
- Temporary Solution: It provides time for professional roofers to assess and repair the roof properly.
- Cost-Effective: Tarping is less expensive than immediate full repairs, especially in emergency situations.
Materials Needed for Roof Tarping
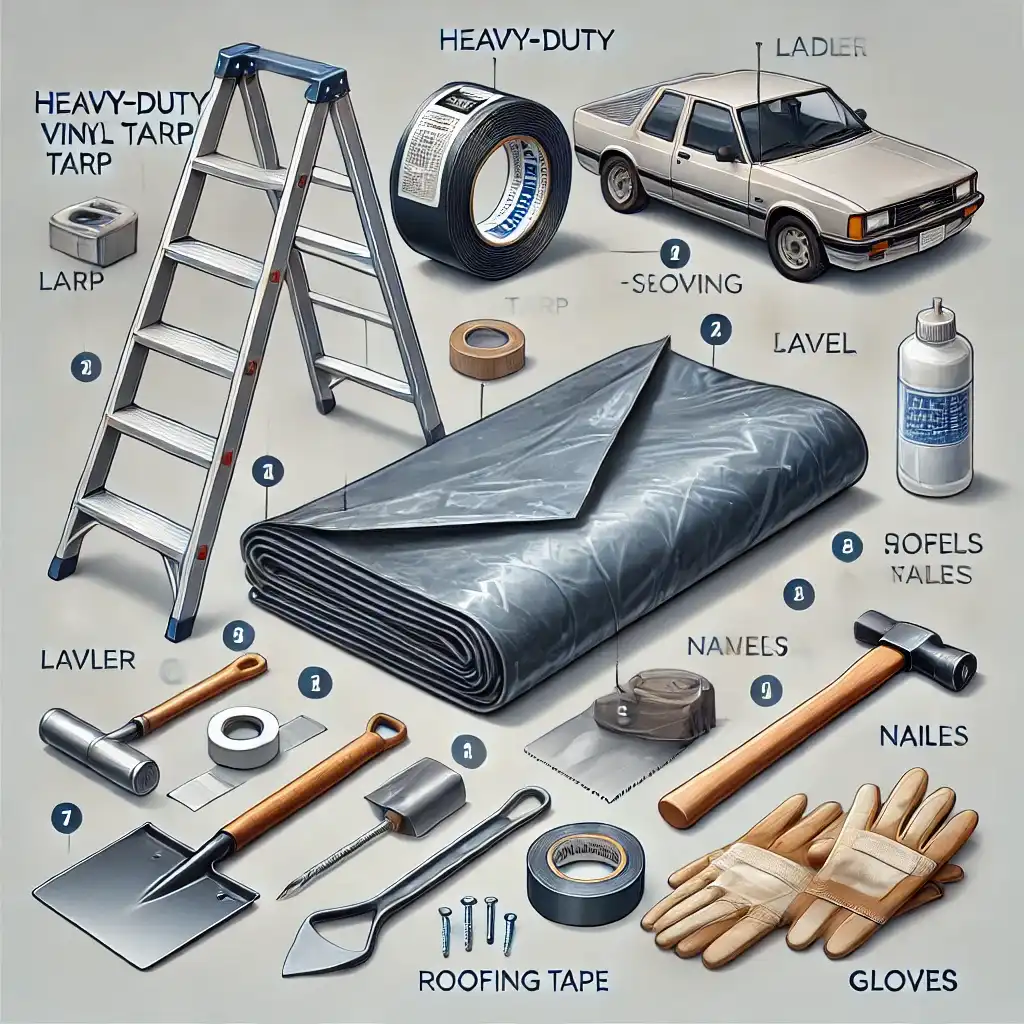
To tarp a roof leak, you’ll need the following materials:
- Heavy-Duty Vinyl Tarp: Durable and resistant to elements.
- Sturdy Ladder: For safe access to the roof.
- Roofing Shovel: To clear debris.
- Measuring Tape: To measure the damaged area accurately.
- Furring Strips or 2×4 Wooden Boards: To secure the tarp.
- Hammer and Nails/Screws: For attaching the strips and tarp.
- Protective Equipment: Gloves, helmet, non-slip shoes, and safety harness.
Steps to Tarp a Leaking Roof
1. Assess the Damage
Identify the source of the leak and measure the affected area. Look for missing or damaged shingles, sagging rooflines, and loose nails. If you’re dealing with shingle-specific issues, see our guide on How to Repair and Replace Roof Shingles: A Comprehensive DIY Guide.
2. Choose the Right Tarp
Select a tarp that covers the damaged area with extra room on each side (about 3-4 feet). Consider using string reinforced plastic sheeting for better durability.
3. Clear Debris and Prepare the Roof
Remove any debris to ensure a clean surface for the tarp. This step is crucial for safety and effectiveness.
4. Secure the Tarp
Use 2×4 wooden boards to create anchors. Roll the tarp’s edges around these boards and secure them with nails or screws. Ensure the tarp is tight and evenly spread to prevent water accumulation. For more patching techniques, explore DIY Roof Patching: A Comprehensive Guide to Fixing Leaky Roofs in 2025.
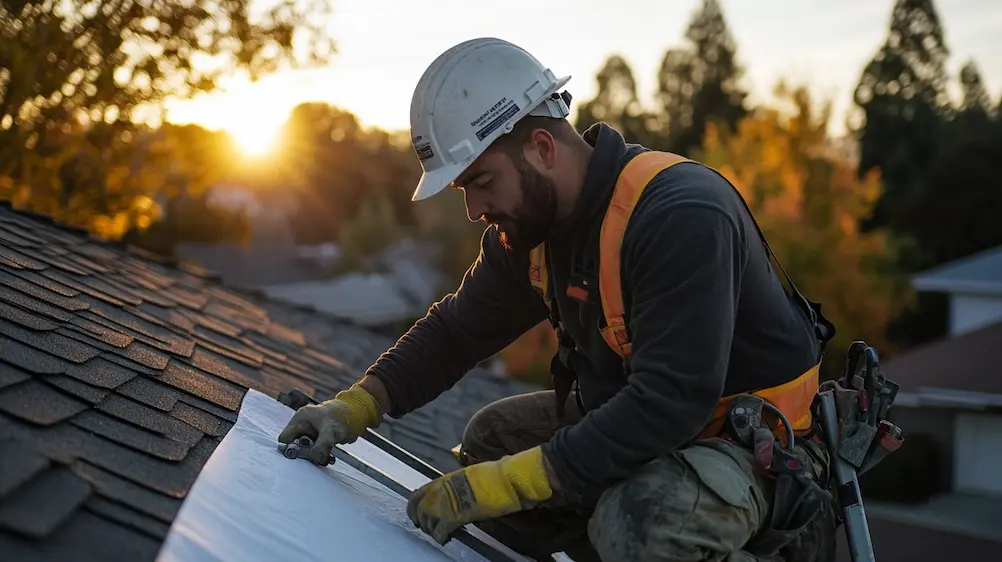
5. Finalize the Installation
Stretch the tarp over the roof’s edges and secure it under the eaves using additional boards. Make sure the tarp is tightly fastened to prevent wind from lifting it.
Tips for Effective Tarping
- Use UV-Resistant Tarps: To prevent premature deterioration.
- Ensure Proper Drainage: Position boards to allow water to drain off the roof, preventing dams.
- Consider Professional Help: If the damage is extensive or you’re unsure about the process.
Conclusion
Tarping a leaking roof is a practical temporary fix that can save you from significant water damage. By following these steps and using the right materials, you can effectively protect your home until professional repairs can be made. Remember, while tarping is a useful solution, it’s not a substitute for proper roof repair. Need more DIY solutions? Visit our hub at DIY Roof Repair Guide: Tackling Small Jobs and Minor Repairs in 2025.
Additional Resources:
- Americover: Offers a variety of durable plastic sheeting options for roof tarping.
- IKO: Provides insights into securing tarps without nails for a more flexible approach.
- RoofPRO: Offers professional assistance for complex roof repairs.
How do I know if my roof damage is covered by insurance?
Check your policy for coverage of sudden events like storms or hail; wear and tear or neglect isn’t covered, per the Insurance Information Institute. Contact your insurer or use our tool to draft a claim letter with the right details.
What is the risk of leaks with new flashing if not installed properly?
Improper installation, like cutting below old lines, can cause leaks within 2 years, so professional work is crucial.