Introduction to Roof Shingle Repair
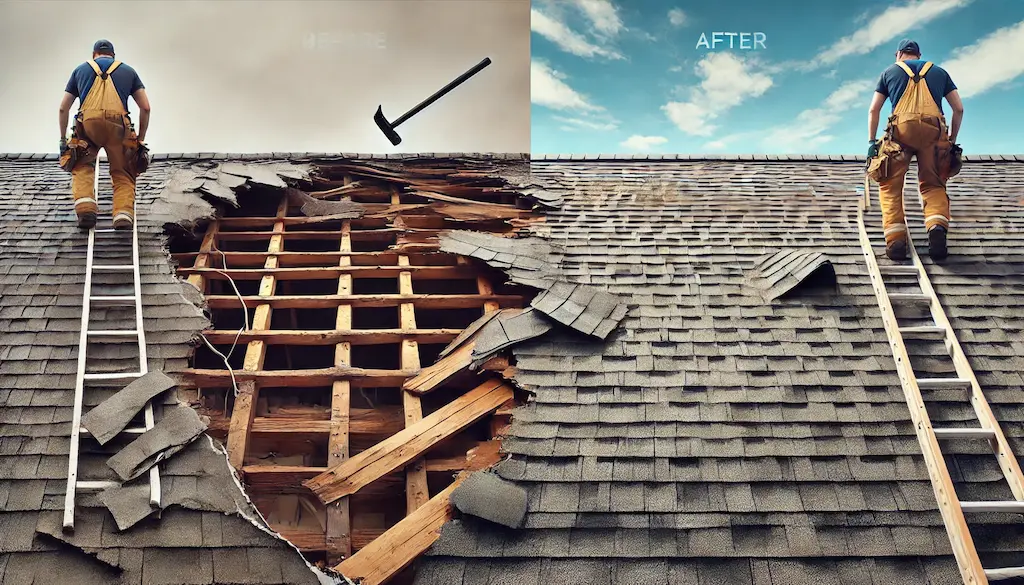
Roof shingles are a crucial part of your home’s exterior, providing protection from the elements and enhancing curb appeal. However, they can become damaged due to weather conditions, age, or accidents. If your shingles have broken off, it’s essential to address the issue promptly to prevent water damage and maintain your roof’s integrity. This guide will walk you through the process of repairing and replacing damaged shingles, including asphalt shingle repair with more details available in our guide on asphalt shingle repair. patching roof shingles, and replacing missing shingles.
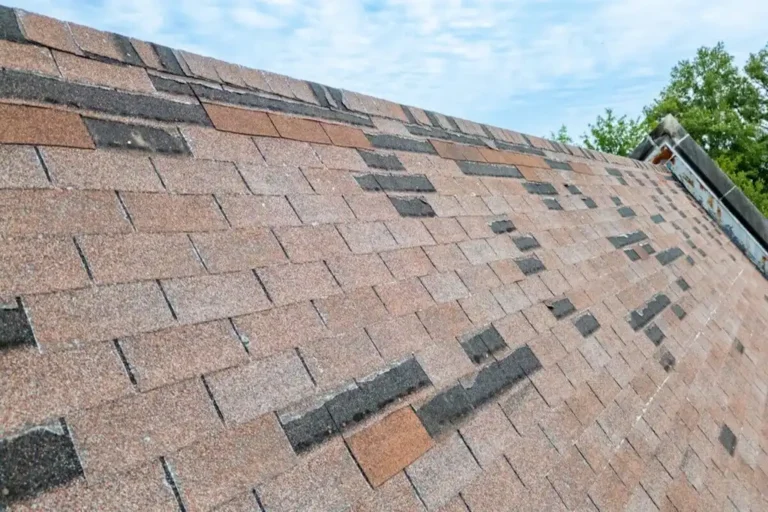
Identifying Damaged Shingles
Before starting any repairs, it’s crucial to identify the extent of the damage. Look for signs such as:
- Cracked shingles: These can be repaired with sealant but may require replacement if severely damaged.
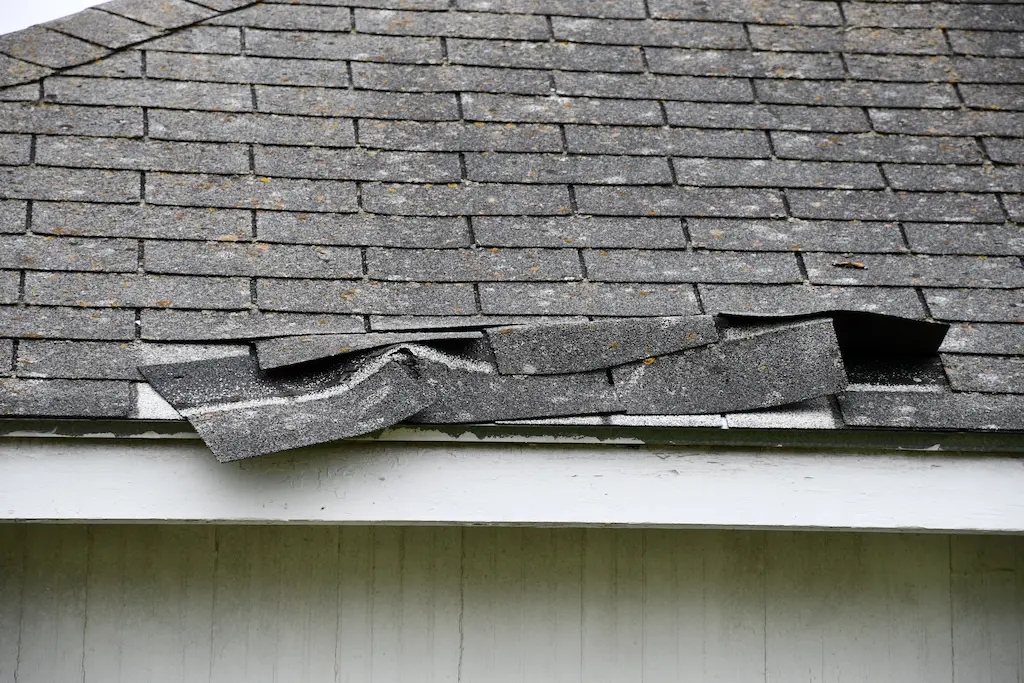
- Curled shingles: These can often be fixed by applying sealant underneath and weighing them down.
- Missing or blown-off shingles: These need to be replaced to prevent leaks.
How to Repair Damaged Shingles
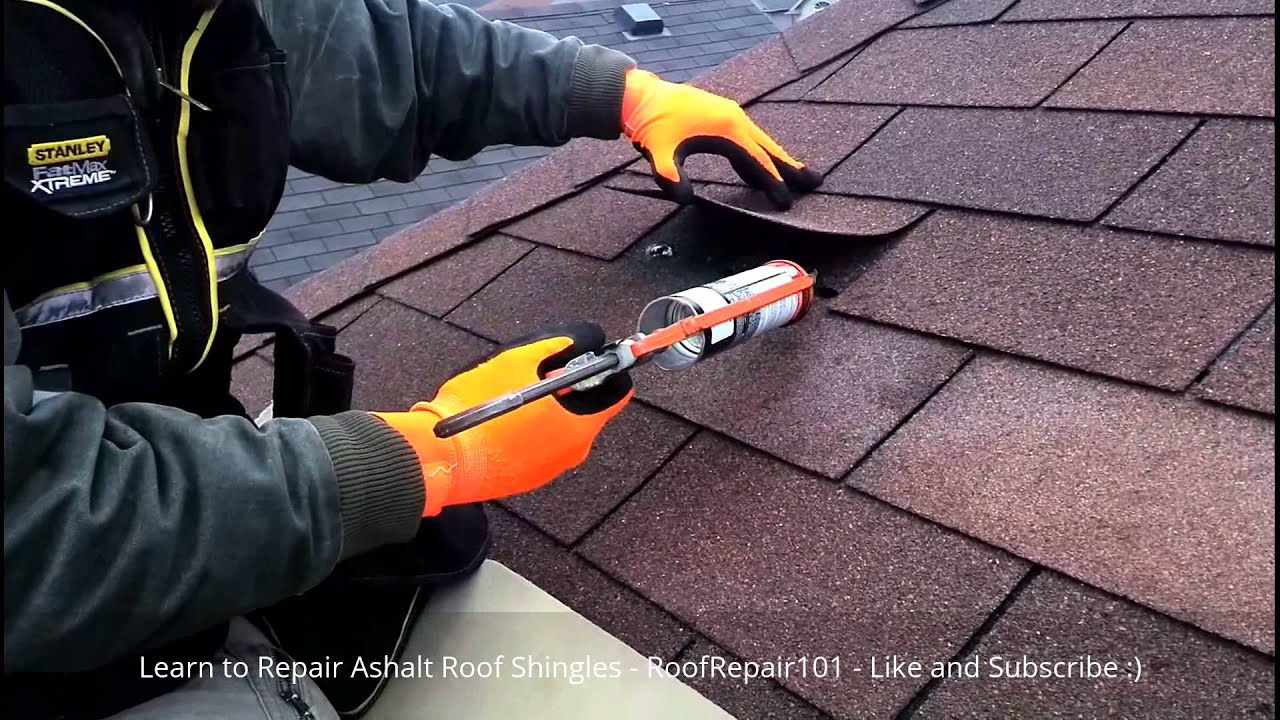
Repairing Curled Shingles
- Clean the Area: Remove any debris from the curled section.
- Apply Sealant: Use a caulking gun to apply roofing sealant under the curled part.
- Press Down: Firmly press the shingle flat.
- Weight It Down: Place a brick or heavy object on top for at least 24 hours to allow the sealant to dry. For more detailed patching techniques, see our guide on DIY roof patching.
Repairing Cracked Shingles
- Apply Sealant Underneath: Use a thick bead of sealant under the crack.
- Press Down: Firmly press the shingle flat.
- Apply Sealant on Top: Add another bead of sealant over the crack.
- Smooth the Sealant: Use a putty knife to spread it evenly.
- Camouflage: Sprinkle shingle granules from your gutters over the wet sealant to match the surrounding texture. If you have a tile roof, check out our guide on fixing cracked roof tiles.
How to Replace Missing or Blown-Off Shingles
Replacing missing shingles is a bit more involved but can be done with the right tools and techniques.
Steps to Replace a Shingle:
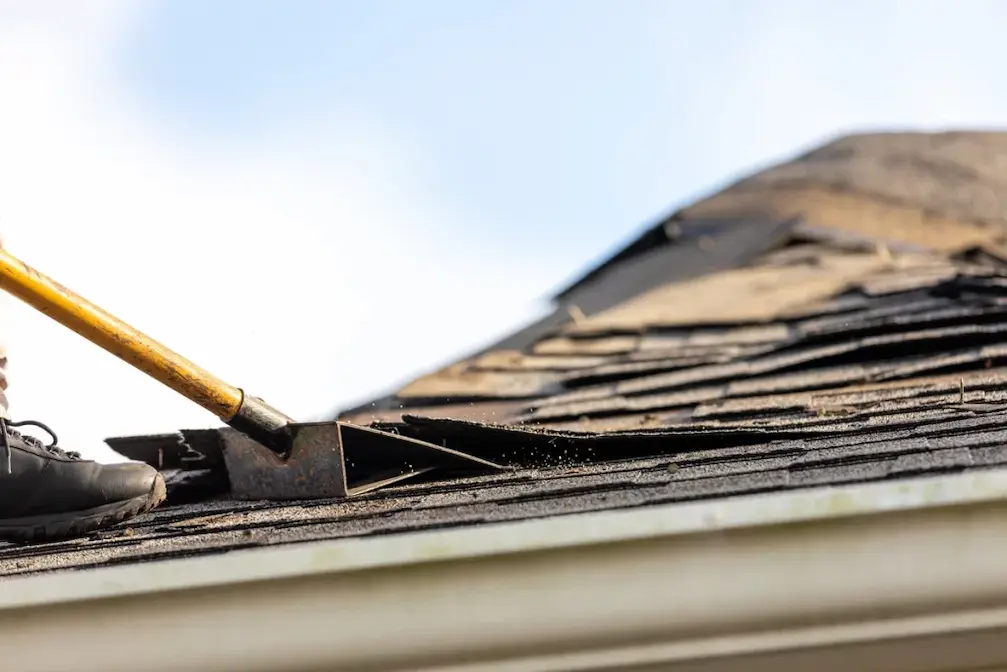
- Gather Tools and Materials: You’ll need a pry bar, hammer, utility knife, replacement shingles, and roofing nails.
- Lift Surrounding Shingles: Gently pry up the edges of the shingles above the damaged one to access the nails.
- Remove Nails: Use a pry bar to remove the nails holding the damaged shingle in place.
- Remove the Damaged Shingle: Carefully slide it out and dispose of it.
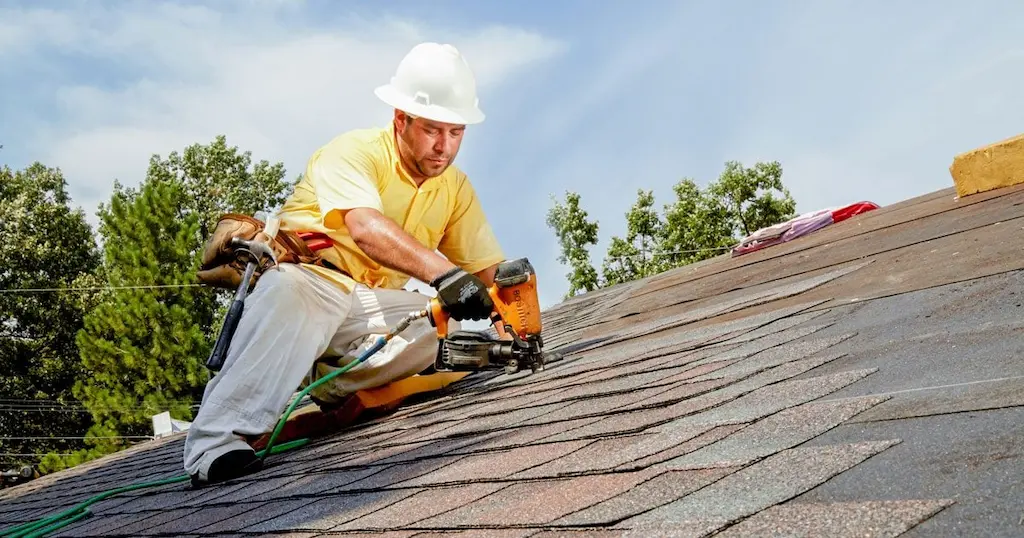
- Install the New Shingle: Place the new shingle under the row above it and secure it with roofing nails. Ensure it overlaps the surrounding shingles properly.
Tips for DIY Roof Repair
- Safety First: Always use proper safety gear when working on your roof, including a harness and non-slip shoes. For more safety tips, see our DIY roof repair guide
- Match the Shingles: Try to find replacement shingles that match your existing ones in color and style.
- Consult a Professional: If you’re unsure about any part of the process or if the damage is extensive, consider hiring a professional roofer.
Conclusion
Repairing and replacing roof shingles is a manageable DIY task if you have the right tools and follow the correct procedures. By addressing damaged shingles promptly, you can prevent costly repairs down the line and ensure your home remains safe and secure. Whether you’re dealing with cracked shingles, patching roof shingles, or replacing missing shingles, this guide provides you with the expertise to tackle the job effectively. For more comprehensive information on roof repairs, check out our guide on protecting your home with expert solutions.