Are you considering a DIY shingle roof project? Whether you’re looking to save money or take on a challenging home improvement task, this guide will walk you through the process of installing roofing shingles on your house. From preparation to finishing touches, we’ll cover everything you need to know about how to roof a house with shingles. check out our comprehensive guide on tackling small jobs and minor repairs.
Why Choose DIY Roofing?
Before diving into the installation process, let’s consider why you might opt for a DIY approach:
- Cost Savings: By doing the work yourself, you can save thousands on labor costs.
- Personal Satisfaction: Completing a major home project can be incredibly rewarding.
- Learning Experience: You’ll gain valuable knowledge about your home and construction techniques.
However, it’s crucial to weigh these benefits against the risks and complexity of the job. Roofing can be dangerous and physically demanding work.
Preparing for Your DIY Roof Replacement
Safety First

Before you begin, ensure you have the proper safety equipment:
- Hard hat
- Eye protection
- Non-slip footwear
- Gloves
- Secure ladder
Gather Your Tools and Materials
You’ll need:
- Roofing shingles
- Underlayment
- Drip edge
- Roofing nails
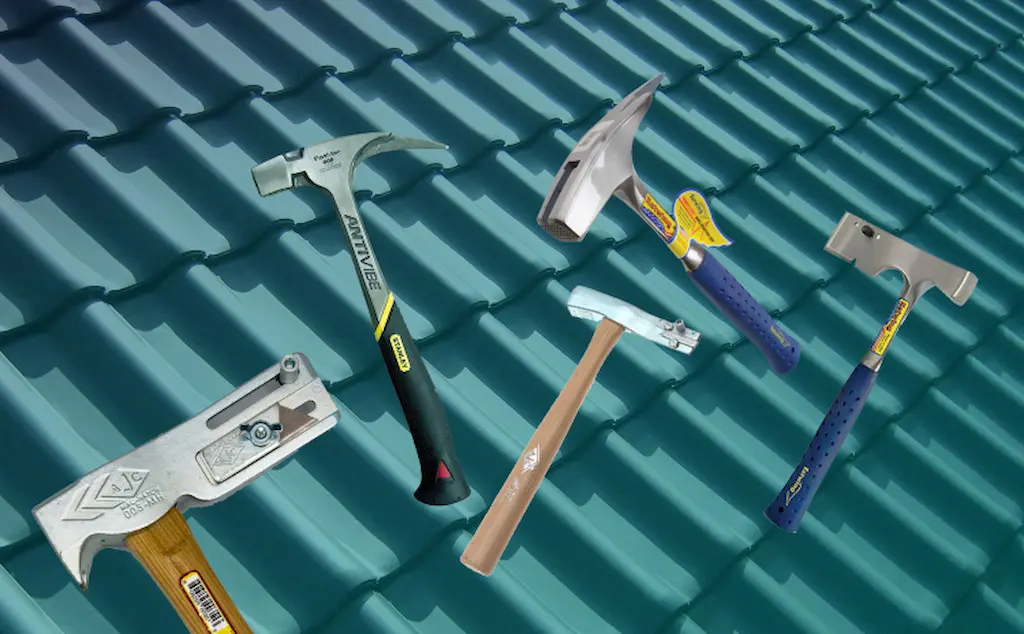
- Hammer or nail gun
- Utility knife
- Chalk line
- Measuring tape
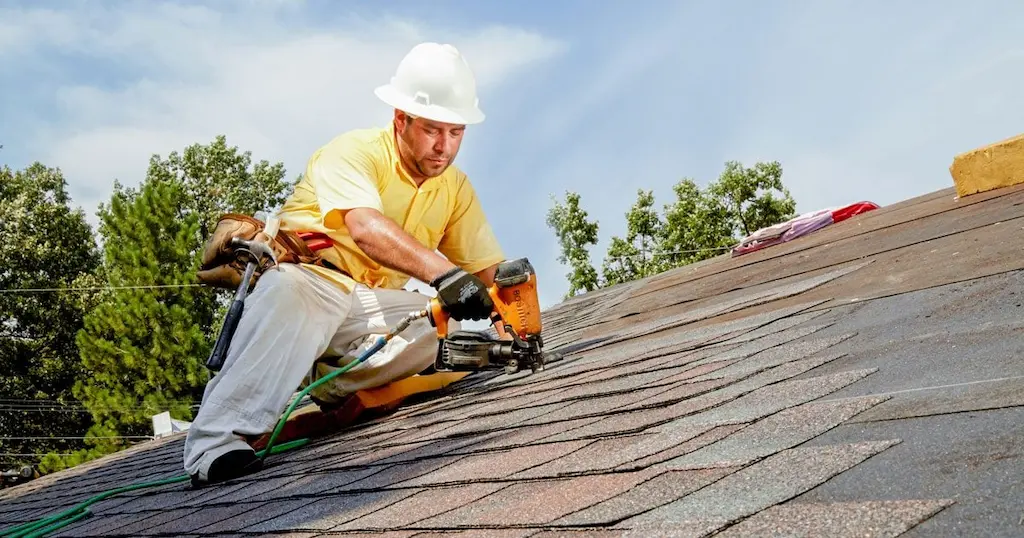
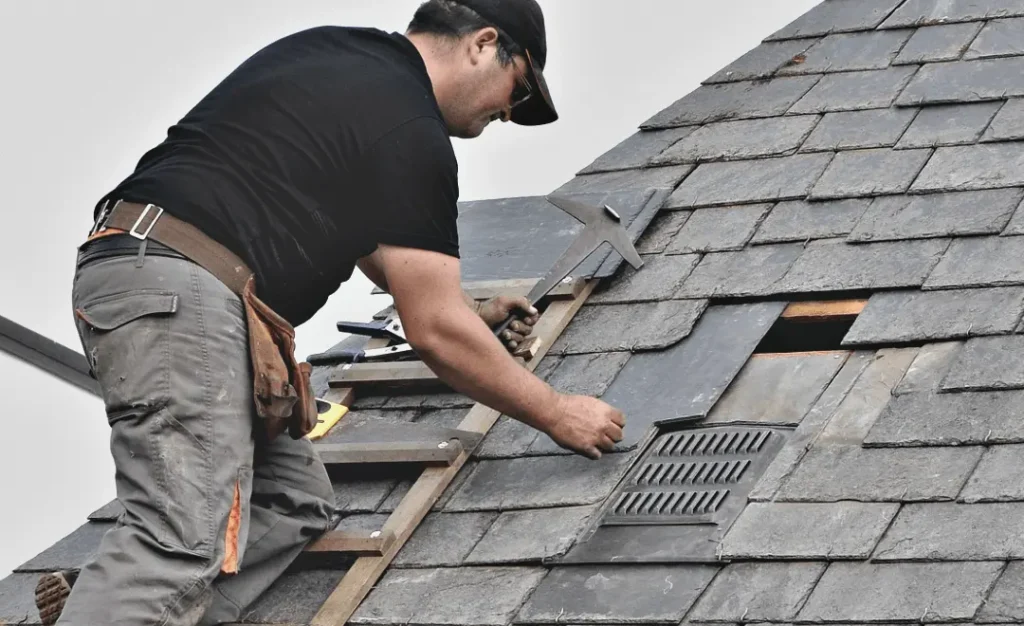
Remove Old Shingles and Inspect the Roof Deck
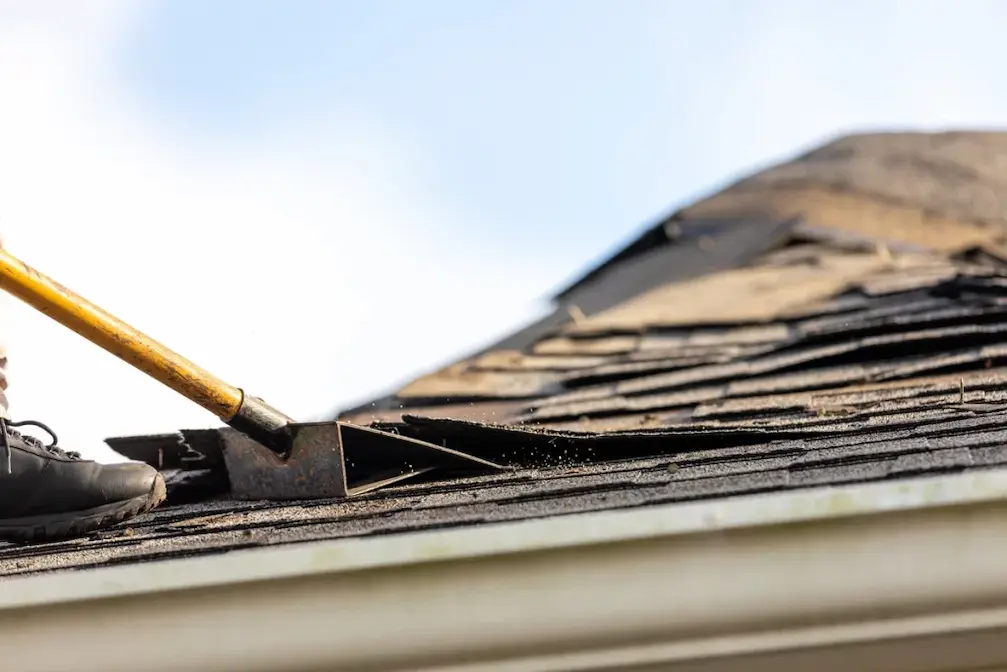
Start by removing the old shingles and inspecting the roof deck for damage. Replace any rotted or damaged decking.
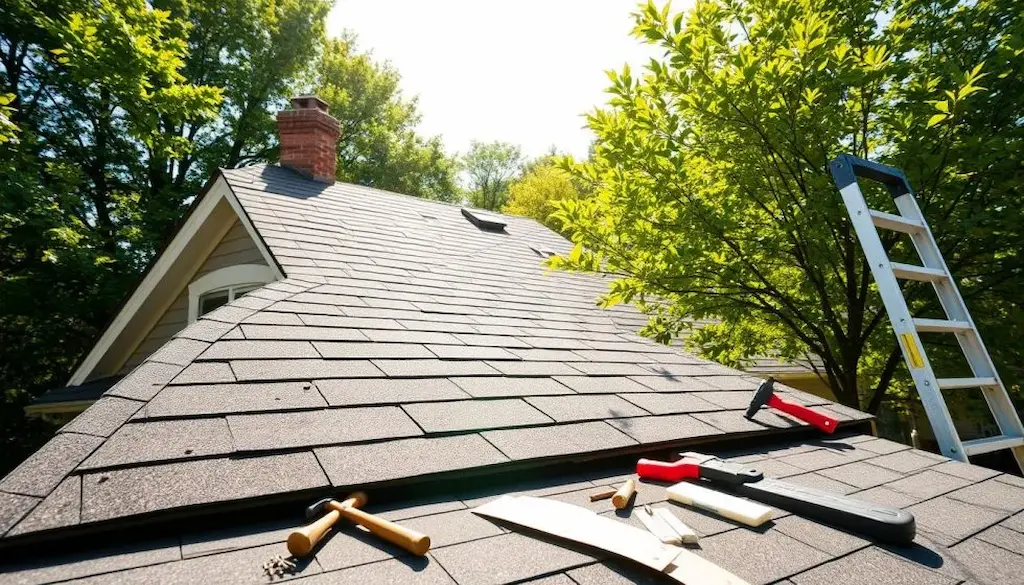
Step-by-Step Guide to Installing Roofing Shingles
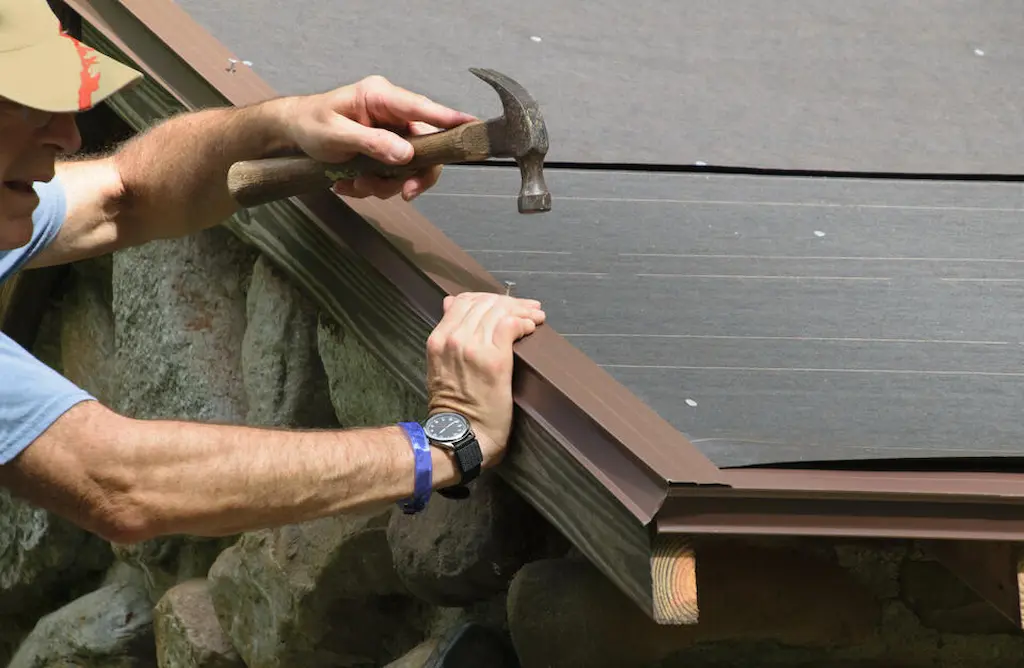
1. Install the Drip Edge
Secure metal flashing along the roof edges to direct water away from the fascia.
2. Apply Underlayment
Roll out and secure the underlayment, which provides an additional waterproof barrier.
3. Create Chalk Lines
Snap horizontal chalk lines across the roof to guide your shingle placement.
4. Install the Starter Course
- Cut the tabs off full shingles for the starter strip
- Place at the bottom edge, overhanging the drip edge by 1/4 inch
- Nail in place
5. Begin Shingle Installation
Start at the bottom edge of the roof:
- Align the first row with your chalk line
- Secure with roofing nails about 6 inches from the top edge
- Follow the manufacturer’s instructions for nail placement
6. Continue with Subsequent Rows
- Stagger the seams between rows
- Overlap each shingle by the recommended exposure (usually around 5-6 inches)
- Use a utility knife to trim shingles at edges and valleys. learn how to fix them with our guide on fixing broken shingles.
7. Install Ridge Caps
Once you’ve shingled the entire roof:
- Use special ridge cap shingles for hips and ridges
- Install them so prevailing winds blow over, not into, them
- Overlap each cap shingle for a neat finish
Tips for a Successful DIY Roof Installation
- Work in Sections: Tackle your roof in manageable sections to avoid exposing too much of the roof deck at once.
- Check Weather Forecasts: Choose a period of dry weather for your project.
- Maintain Proper Ventilation: Ensure your roof has adequate ventilation to prevent moisture buildup.
- Consider Timing: Off-peak seasons may offer better prices on materials.
Cost Considerations
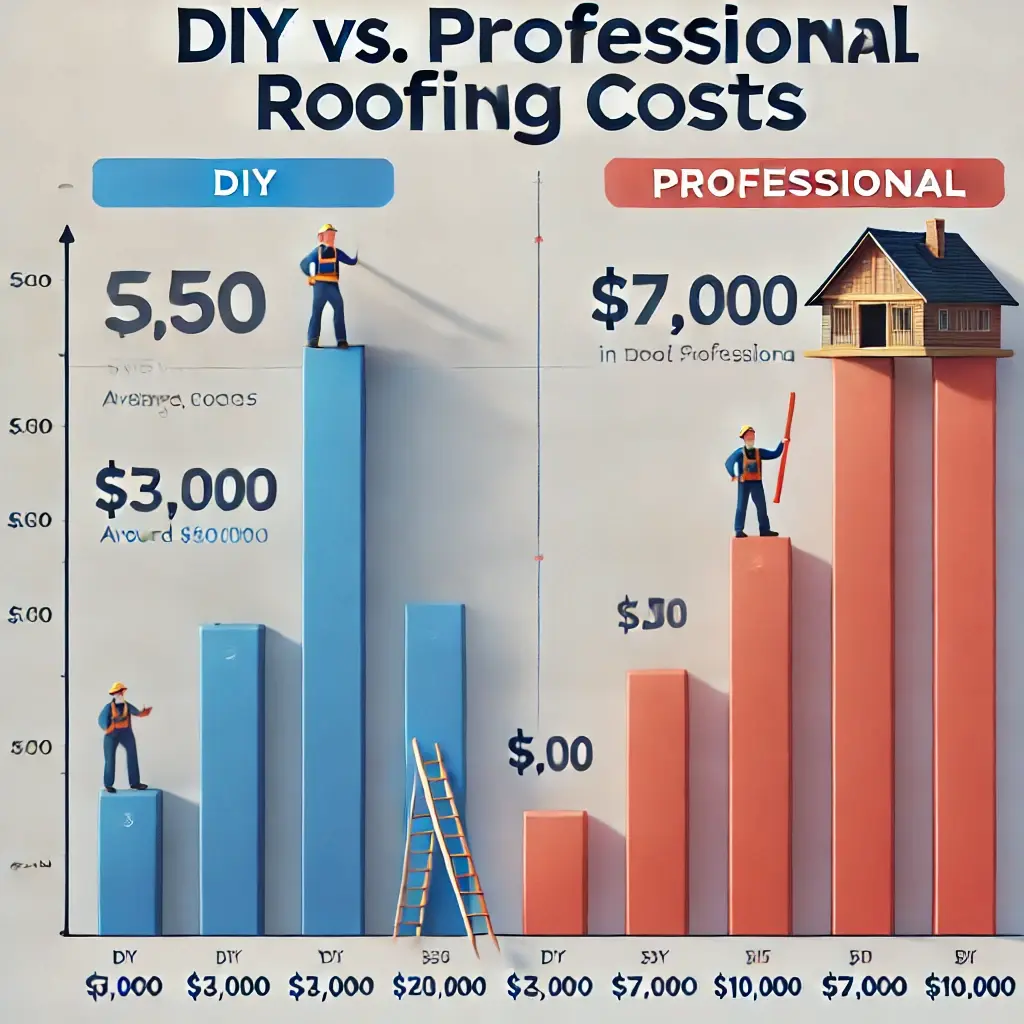
The average cost for a DIY roof replacement ranges from $2,500 to $5,000, depending on the size of your roof and the materials you choose. This can represent significant savings compared to professional installation.
When to Call a Professional
While DIY roofing can be rewarding, it’s not for everyone. Consider hiring a professional if:
- You’re uncomfortable with heights
- Your roof has a steep pitch
- You encounter extensive damage during inspection
- You lack the necessary time or physical ability
Remember, a poorly installed roof can lead to costly repairs down the line, potentially offsetting any initial savings.
Conclusion
Installing your own shingle roof is a challenging but achievable DIY project. By following this guide and taking proper safety precautions, For ongoing maintenance tips to keep your roof in top shape, see our guide on what professional roofing companies do for maintenance. you can successfully reroof your house with shingles. However, always prioritize safety and quality over cost savings. If you’re unsure at any point, don’t hesitate to consult with or hire a professional roofer.