Roof leaks can be a homeowner’s nightmare, but with the right knowledge and tools, you can tackle many common roof issues yourself. This guide will walk you through the process of roof patching, providing expert tips for DIY roof leak repair and spot fixes to keep your home dry and protected.
Understanding Roof Leaks
Before diving into repairs, it’s crucial to understand the nature of roof leaks. Leaks often occur at weak points in your roofing system, such as:
- Damaged or missing shingles, for detailed shingle repair guidance.
- Worn flashing around chimneys, vents, or skylights
- Cracks in the roofing material
- Improperly sealed joints
Identifying the source of the leak is the first step in effective roof patching.
Essential Tools and Materials
To perform a successful roof repair, you’ll need:
- Roofing cement or sealant
- Replacement shingles or roofing material
- Pry bar
- Roofing nails
- Hammer or nail gun
- Safety gear (gloves, goggles, non-slip shoes)
- Ladder
Step-by-Step Roof Patching Guide
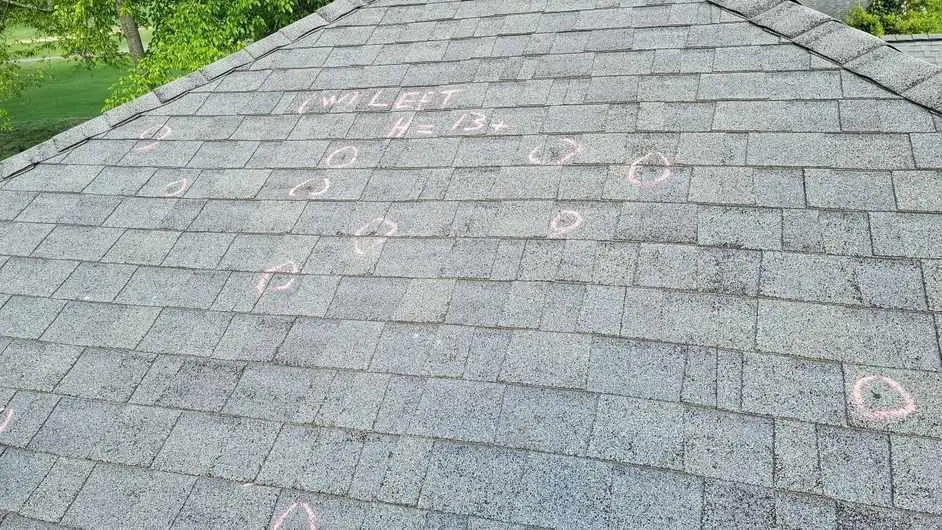
1. Locate the Leak

Start by inspecting your attic for signs of water damage. Look for water stains, mold, or damp insulation. Once you’ve narrowed down the area, wait for a dry day to examine your roof’s exterior1.
2. Clean and Prepare the Area
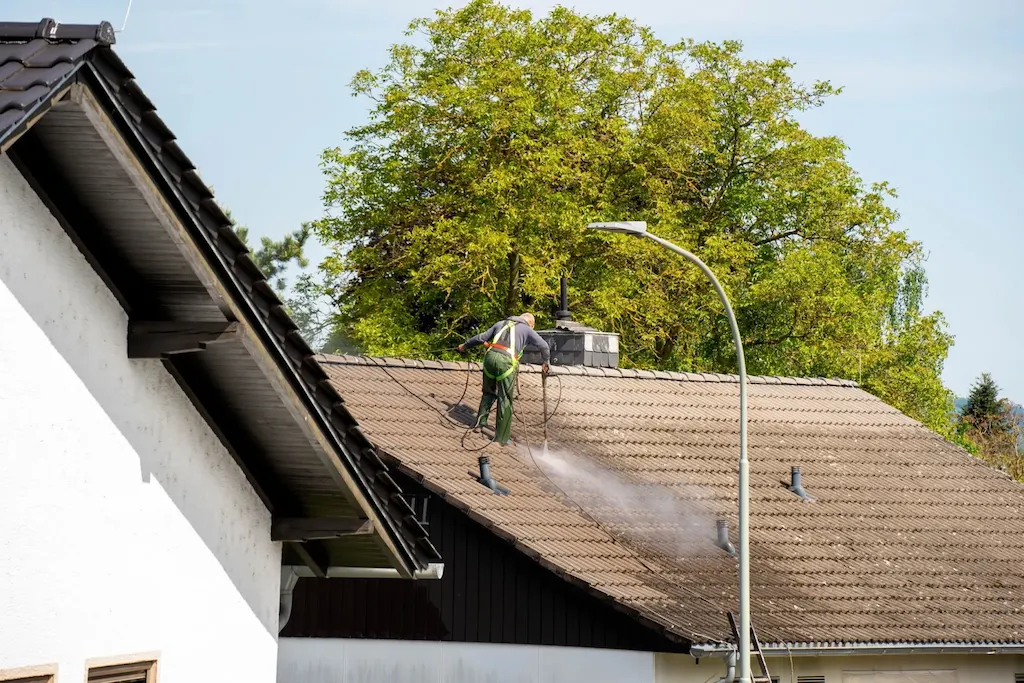
Clean the damaged area thoroughly with a wire brush and remove any debris. For flat roofs, use a rag with water to clean the surface, ensuring it’s completely dry before proceeding2.
3. Apply Roofing Cement
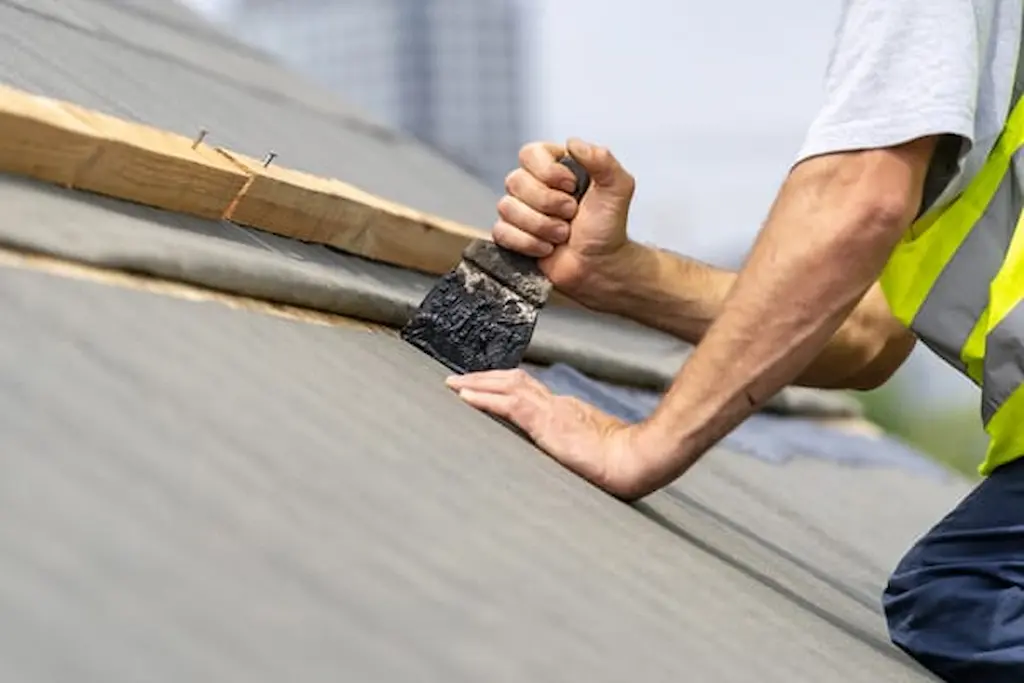
For small holes or cracks:
- Apply a thick layer of roofing cement or sealant over the damaged area.
- Spread it evenly with a putty knife, extending about 2 inches beyond the damaged spot1.
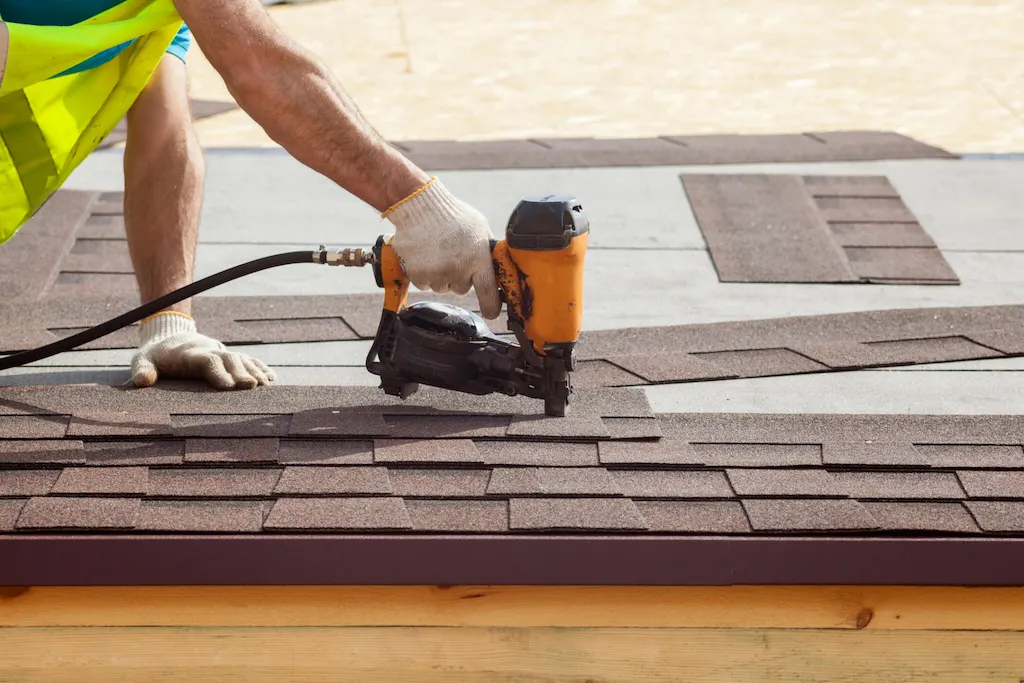
4. Patch Shingles
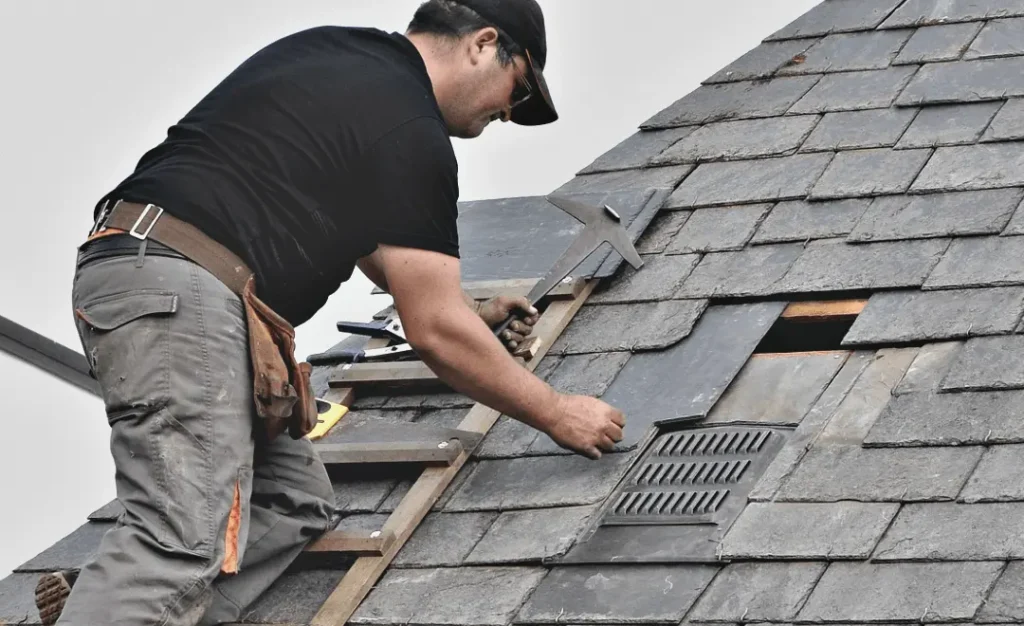
For damaged shingles:
- Lift the damaged shingle with a pry bar.
- Apply roofing cement underneath.
- Press the shingle down and secure it with roofing nails.
- Cover nail heads with additional cement.
5. Replace Flashing
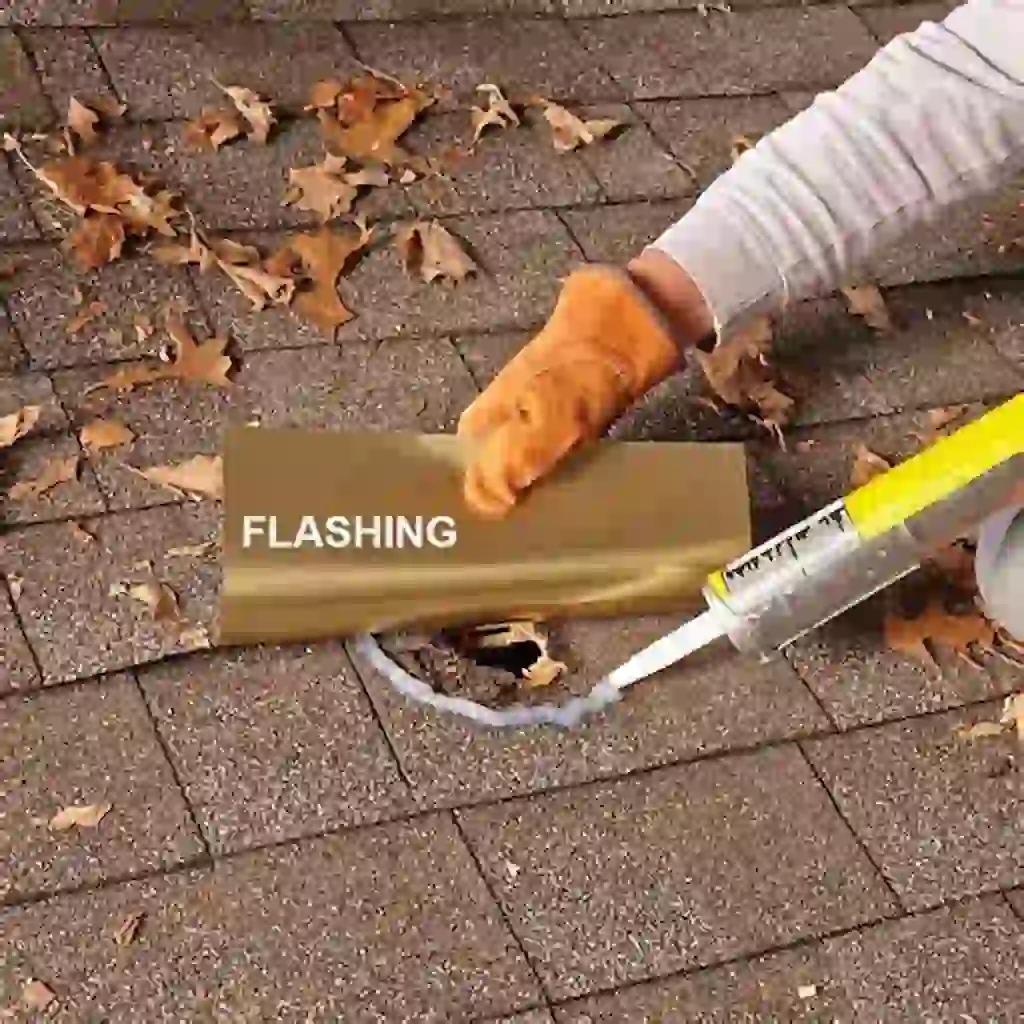
If the leak is due to damaged flashing:
- Remove the old flashing carefully.
- Install new flashing, ensuring it overlaps correctly.
- Secure with roofing nails and seal edges with roofing cement.
6. Address Flat Roof Leaks
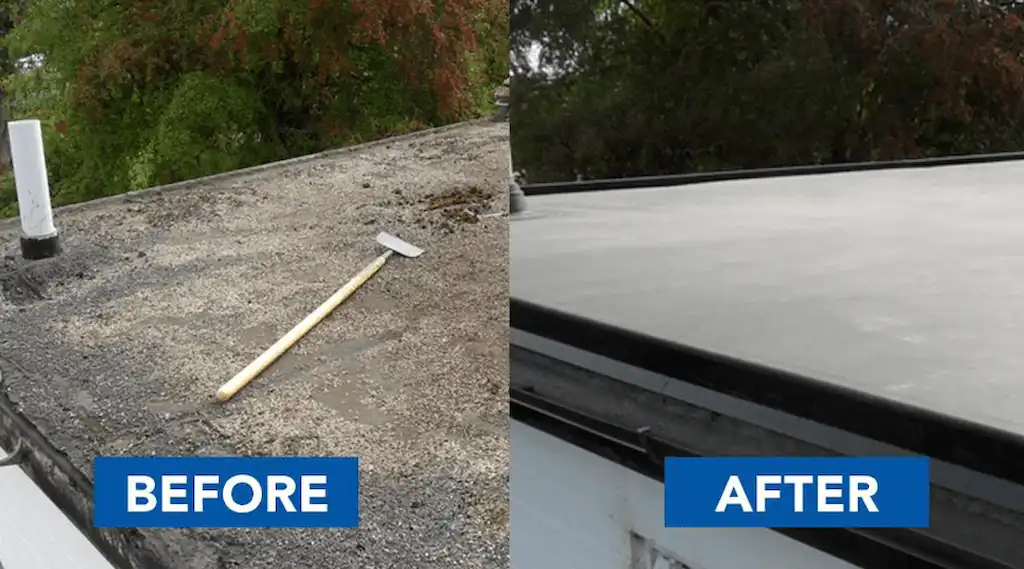
For EPDM (rubber) roofs:
- Clean the area with lacquer thinner.
- Apply a coat of silicone sealant.
- Embed polyester fleece into the sealant.
- Apply a topcoat of sealant over the fleece2.
Advanced Techniques for Persistent Leaks
Replacing Roof Decking
If water damage has affected the roof’s plywood decking:
- Remove shingles and underlayment around the damaged area.
- Cut out the damaged section along rafters.
- Install new plywood, matching the thickness of the existing decking.
- Apply new underlayment and shingles.
Fixing Valley Leaks
For leaks occurring in roof valleys:
- Remove shingles around the valley.
- Install new ice-and-water barrier underlayment.
- Replace valley flashing if necessary.
- Re-shingle the area, ensuring proper overlap.
Preventive Maintenance
To avoid future leaks:
- Inspect your roof biannually and after severe weather events.
- Keep gutters clean and free of debris.
- Trim overhanging tree branches.
- Ensure proper attic ventilation to prevent ice dams.
When to Call a Professional
While many roof repairs can be DIY projects, some situations require professional intervention:
- Extensive water damage
- Structural issues
- Steep or high roofs that are unsafe to access
- Complex repairs beyond your skill level
In these cases, it’s best to consult with a licensed roofing contractor to ensure proper repair and maintain your roof’s warranty.
Conclusion
Roof patching is a valuable skill for homeowners, potentially saving time and money on minor repairs. By following this guide and staying vigilant with regular maintenance, you can extend the life of your roof and protect your home from water damage. Remember, safety should always be your top priority when working on your roof. for more DIY tips