Roof tarp installation during stormy weather to protect home from leaks.

How to Tarp a Leaking Roof: A Step-by-Step Guide

Learn how to cover a leaking roof with a tarp effectively. Discover the best materials, steps, and tips for temporary roof repair to prevent further damage.

Introduction to Roof Tarping

Dealing with a leaking roof can be stressful, especially during stormy weather. One effective way to protect your home from further damage is by using a roof repair tarp. This temporary solution, often referred to as tarp roof leak repair, is essential until professional help arrives. In this guide, we’ll explore how to cover a leaking roof, the best materials to use, and the steps involved in temporary roof repair tarp installation. For a broader overview of DIY fixes, check out our DIY Roof Repair Guide: Tackling Small Jobs and Minor Repairs in 2025.

Why Tarp a Leaking Roof?

  • Prevents Further Damage: A tarp acts as a barrier against rain and wind, safeguarding your home’s interior from water damage.
  • Temporary Solution: It provides time for professional roofers to assess and repair the roof properly.
  • Cost-Effective: Tarping is less expensive than immediate full repairs, especially in emergency situations.

Materials Needed for Roof Tarping
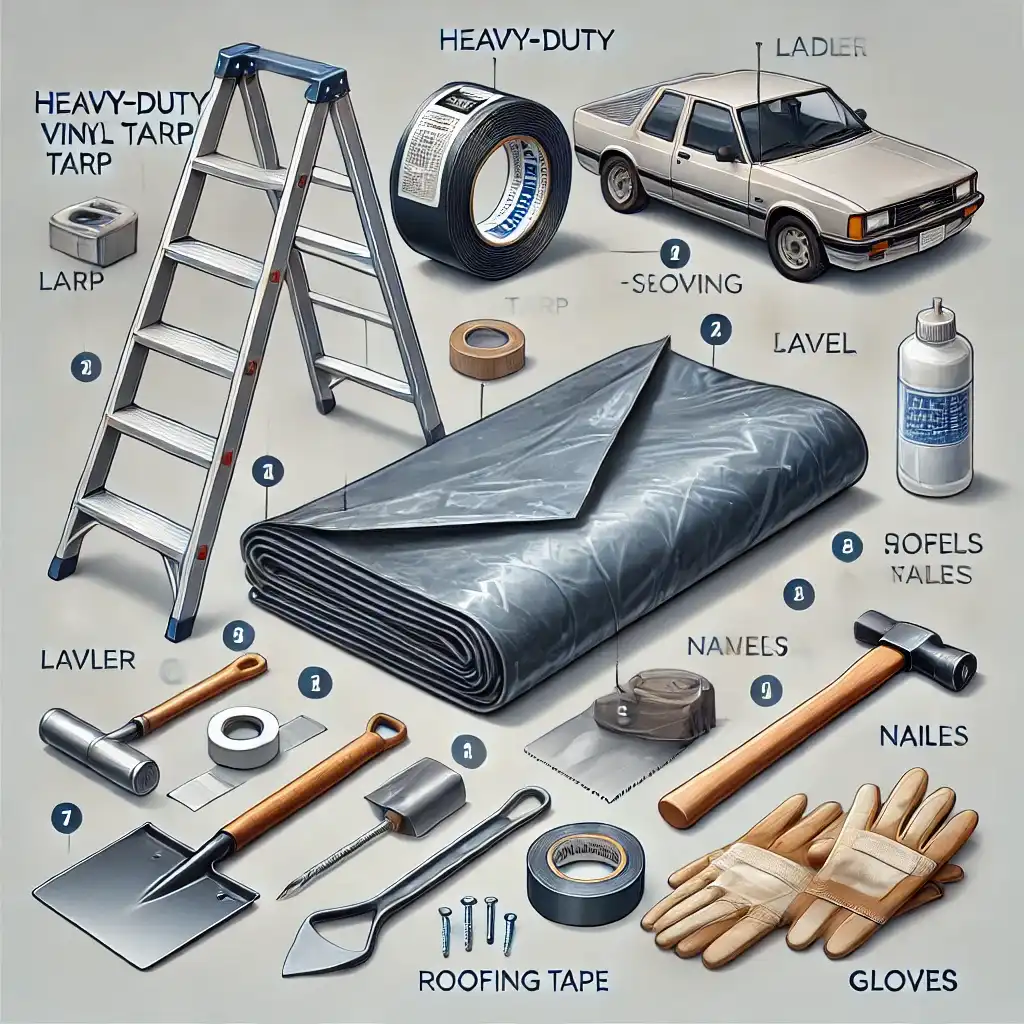
Heavy-duty vinyl tarp, ladder, and tools for DIY roof tarping.

To tarp a roof leak, you’ll need the following materials:

  • Heavy-Duty Vinyl Tarp: Durable and resistant to elements.
  • Sturdy Ladder: For safe access to the roof.
  • Roofing Shovel: To clear debris.
  • Measuring Tape: To measure the damaged area accurately.
  • Furring Strips or 2×4 Wooden Boards: To secure the tarp.
  • Hammer and Nails/Screws: For attaching the strips and tarp.
  • Protective Equipment: Gloves, helmet, non-slip shoes, and safety harness.

Steps to Tarp a Leaking Roof

1. Assess the Damage

Identify the source of the leak and measure the affected area. Look for missing or damaged shingles, sagging rooflines, and loose nails. If you’re dealing with shingle-specific issues, see our guide on How to Repair and Replace Roof Shingles: A Comprehensive DIY Guide.

2. Choose the Right Tarp

Select a tarp that covers the damaged area with extra room on each side (about 3-4 feet). Consider using string reinforced plastic sheeting for better durability.

3. Clear Debris and Prepare the Roof

Remove any debris to ensure a clean surface for the tarp. This step is crucial for safety and effectiveness.

4. Secure the Tarp

Use 2×4 wooden boards to create anchors. Roll the tarp’s edges around these boards and secure them with nails or screws. Ensure the tarp is tight and evenly spread to prevent water accumulation. For more patching techniques, explore DIY Roof Patching: A Comprehensive Guide to Fixing Leaky Roofs in 2025.
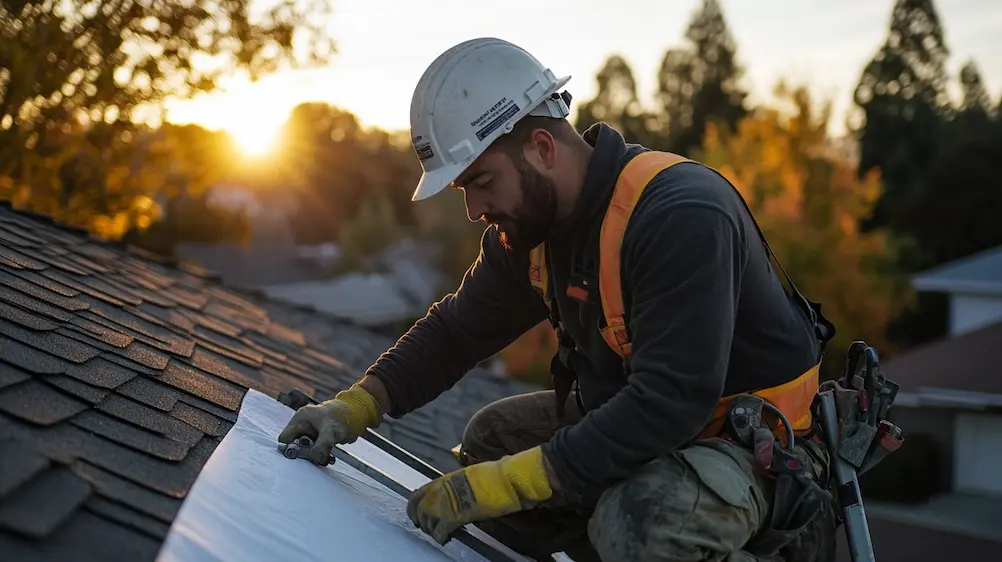
DIY roof tarping with 2×4 boards and nails for leak protection.

5. Finalize the Installation

Stretch the tarp over the roof’s edges and secure it under the eaves using additional boards. Make sure the tarp is tightly fastened to prevent wind from lifting it.

Tips for Effective Tarping

  • Use UV-Resistant Tarps: To prevent premature deterioration.
  • Ensure Proper Drainage: Position boards to allow water to drain off the roof, preventing dams.
  • Consider Professional Help: If the damage is extensive or you’re unsure about the process.
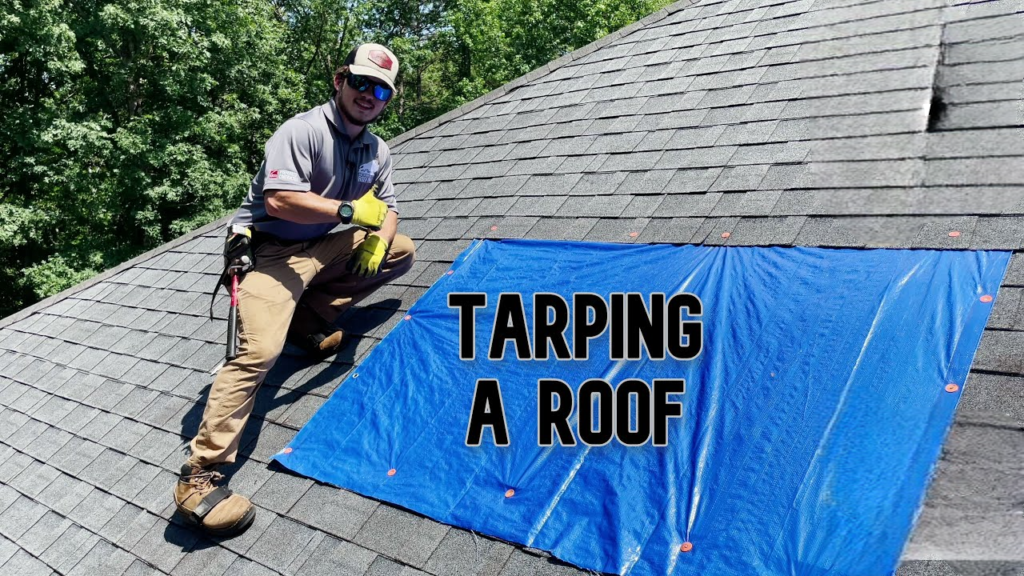
UV-resistant tarp on roof with drainage for temporary leak repair.

Conclusion

Tarping a leaking roof is a practical temporary fix that can save you from significant water damage. By following these steps and using the right materials, you can effectively protect your home until professional repairs can be made. Remember, while tarping is a useful solution, it’s not a substitute for proper roof repair. Need more DIY solutions? Visit our hub at DIY Roof Repair Guide: Tackling Small Jobs and Minor Repairs in 2025.

Additional Resources:

  • Americover: Offers a variety of durable plastic sheeting options for roof tarping.
  • IKO: Provides insights into securing tarps without nails for a more flexible approach.
  • RoofPRO: Offers professional assistance for complex roof repairs.
What is the risk of leaks with new flashing if not installed properly?

Improper installation, like cutting below old lines, can cause leaks within 2 years, so professional work is crucial.

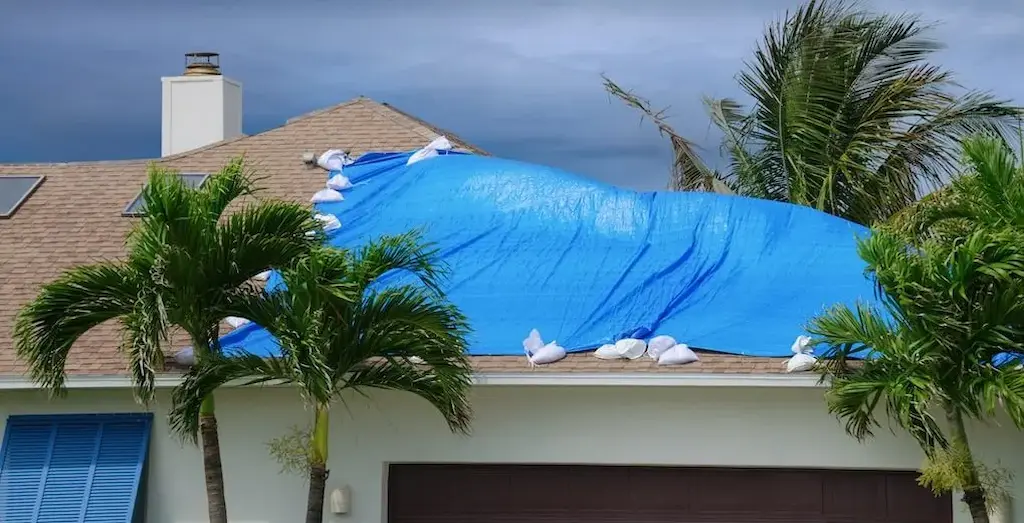
Can a tarp hold up in high winds?
A tarp can hold up in high winds if properly secured with furring strips, sandbags, or 2x4s, as advised in a Reddit thread. Choose a reinforced tarp and anchor it tightly to prevent flapping, which can tear it loose. Regular checks after strong gusts ensure it stays intact.
What’s the best material for a roof tarp?
The best material is heavy-duty vinyl or string-reinforced polyethylene, praised on Americover for durability and weather resistance. These materials withstand UV rays, wind, and rain better than lightweight plastic, making them ideal for temporary roof leak repair. Avoid thin tarps, which tear easily and offer less protection.
Is it worth tarping a roof before a storm?
Yes, tarping before a storm is worth it if your roof is already damaged, as noted in Reddit discussions. It’s a cost-effective way to prevent interior water damage, buying time for repairs. Use a heavy-duty tarp and secure it well to withstand wind and rain, but act quickly—tarping during a storm is riskier.
How do I stop water from pooling on a tarped roof?
Prevent pooling by ensuring the tarp is taut and sloped for drainage, a tip supported by roofing experts. Position 2x4 boards to guide water off the roof rather than damming it. Sagging tarps collect water, which can strain the setup or leak through, so stretch it tightly during installation.
Will tarping a roof damage my shingles?
Tarping can damage shingles if nails puncture them, a concern raised on Reddit. To minimize this, use furring strips or plastic cap nails along the edges, avoiding direct shingle penetration. Small nail holes may self-seal over time with heat, but for long-term tarping, consider patching affected shingles later.
What size tarp do I need for a leaking roof?
Choose a tarp that extends 3-4 feet beyond the damaged area on all sides, as recommended in our guide and echoed on Quora. Measure the leak site with a measuring tape, then add extra coverage to ensure water doesn’t seep under the edges. For example, a 6x8-foot hole needs at least a 12x14-foot tarp for effective protection.
Can I tarp my roof myself, or should I hire a professional?
You can tarp your roof yourself if you’re comfortable with heights and have the right tools, like a sturdy ladder and safety gear, as outlined in our guide. A Reddit user successfully tarped their roof post-tornado, but if the damage is extensive or the roof is unsafe, hire a professional roofer. Safety and proper installation are key to preventing further damage.
How long can a tarp stay on a roof?
A tarp can stay on a roof for a few days to three months, depending on its quality and weather conditions, according to insights from Honest Abe Roofing. UV-resistant vinyl tarps last longer, but prolonged exposure to sun and wind can degrade them. Check regularly for wear and replace if needed, as tarping is only a temporary fix, not a substitute for professional repair.
How do you secure a tarp on a roof without nails?
You can secure a tarp without nails by using heavy objects like sandbags or bricks, as suggested in a Reddit thread. Alternatively, roll the tarp edges around 2x4 boards and weigh them down with objects from your yard. This method avoids creating new holes while keeping the tarp taut, ensuring effective temporary roof protection until repairs are made.
Does tarping a roof cause more leaks?
No, properly tarping a roof does not cause more leaks. A common concern, as seen in discussions on Reddit, is that tarping might damage shingles or worsen leaks. However, if done correctly—using furring strips or 2x4 boards to secure the tarp without excessive nailing—tarping protects against water entry. Poor installation, like loose tarps or excessive nails, can lead to issues, so follow a guide like ours for best results.
Share your love
Bhanji Patel
Bhanji Patel

I’m a roofing expert with over 30 years of experience and a passion for sharing what I’ve learned. I was born in 1962 in Gujarat, India, where I earned a civil engineering degree and took over my father’s construction business, growing it into a success. In 1995, I moved to Syracuse, New York, and started my own company, Patel Roofing Co., which I ran for 25 years. Along the way, I won two National Roofing Contractors Association (NRCA) awards—in 2005 and 2012—and gave a TEDx talk in 2018 about roofing innovation.

I’ve written for The New York Times and WikiHow, offering practical advice on roofing and repairs. In 2020, I retired and handed the business to my son. Then, in January 2024, I started this blog to share straightforward guides on roof repairs, damage prevention, and roofing tips—straight from my decades of hands-on work.

My goal is to help you with real, reliable solutions. With a lifetime of building and fixing roofs behind me, I’m here to be your trusted guide.

Leave a Reply

Your email address will not be published. Required fields are marked *