Fixing cracked roof tiles is a crucial task to maintain the integrity and longevity of your roof. Whether you’re dealing with concrete tile roof repair, broken roof tile repair, or simply chipped roof tiles, understanding the right techniques and materials is essential. Here’s a detailed guide to help you tackle these issues effectively.
Understanding Roof Tile Issues
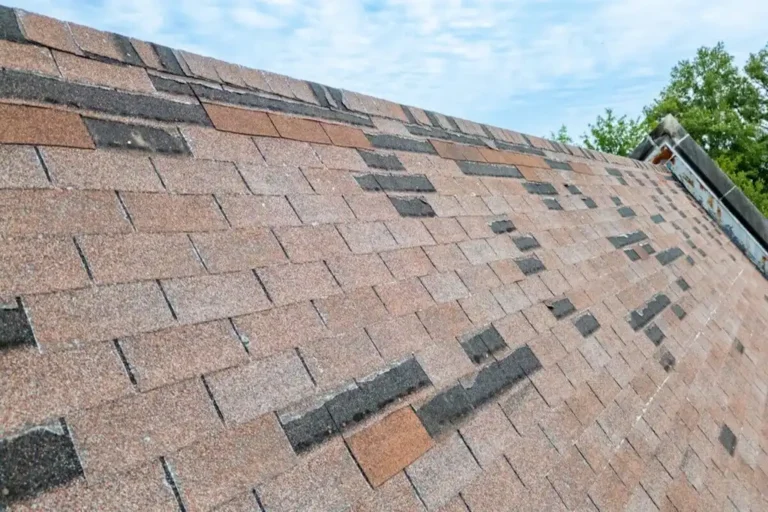
Roof tiles can suffer from various problems, including cracks, breaks, and chips. These issues often arise due to weather conditions, age, or physical damage. Concrete tile roofs are particularly prone to cracking, which can lead to leaks if not addressed promptly5.
Common Issues with Roof Tiles:
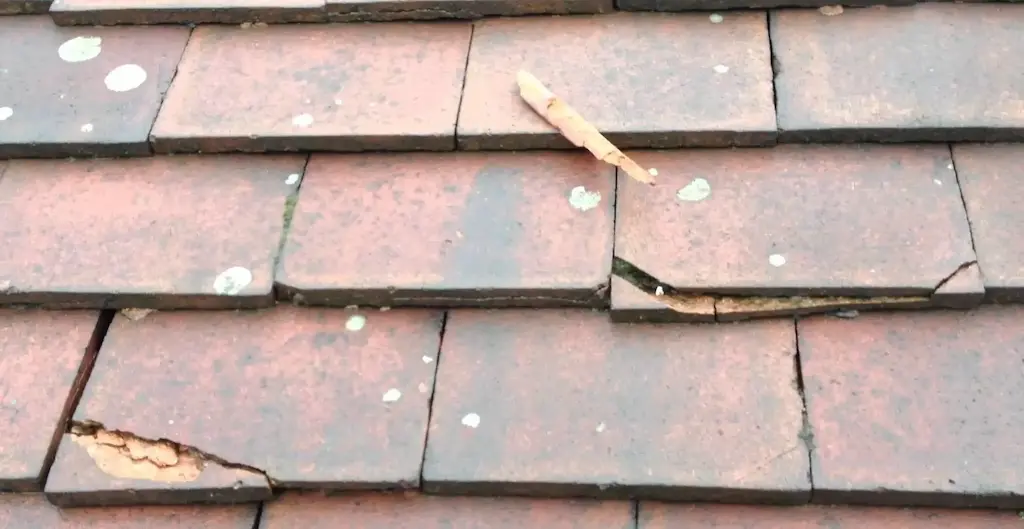
- Cracks and Holes: These can allow water to seep into the roof, causing damage over time.
- Broken Tiles: Entire tiles may break, requiring replacement.
- Chipped Tiles: Minor chips can be repaired but may need attention to prevent further damage.
Materials Needed for Repair
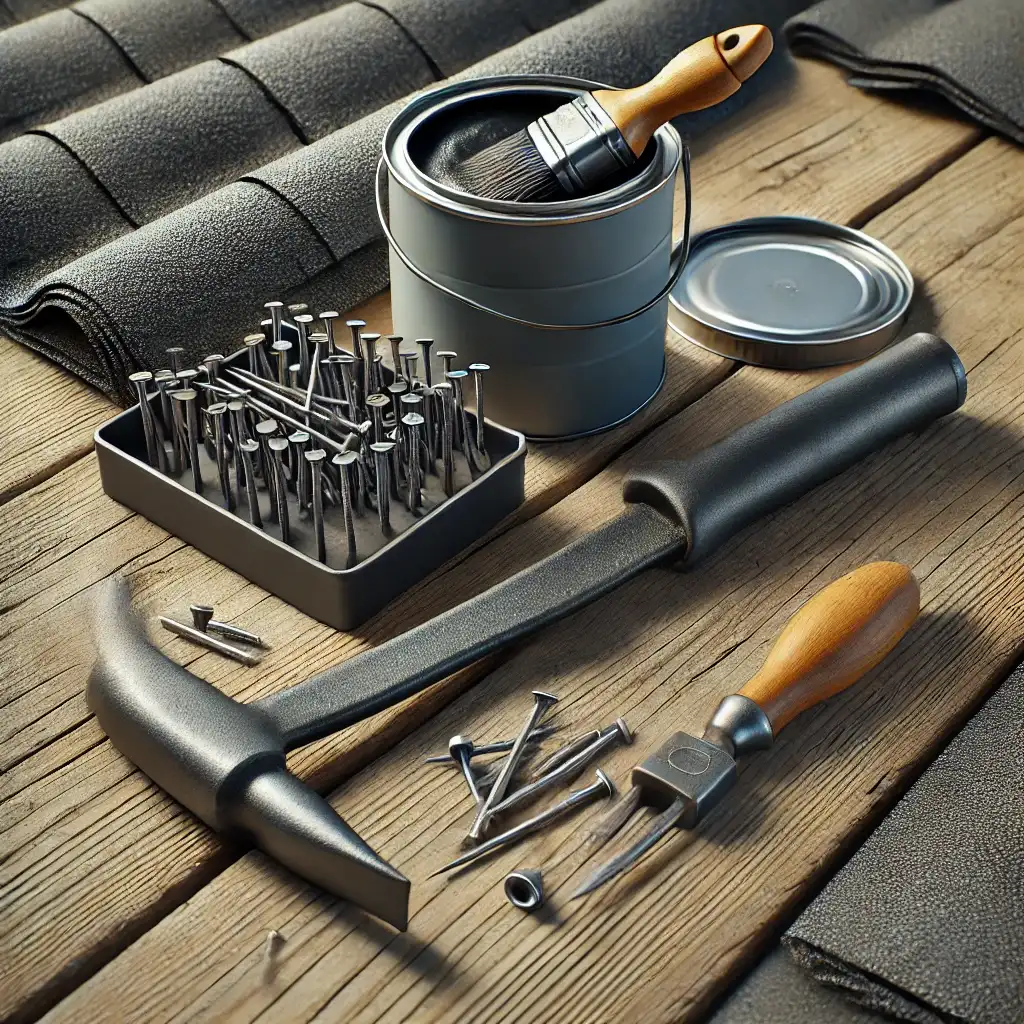
Before starting any repair, gather the necessary materials to ensure a smooth process:
- Replacement Tiles: Match the existing tiles as closely as possible.
- Roofing Cement or Adhesive: Essential for securing new tiles.
- Roofing Nails: Used to fasten tiles in place.
- Pry Bar or Flat-Blade Shovel: For removing damaged tiles.
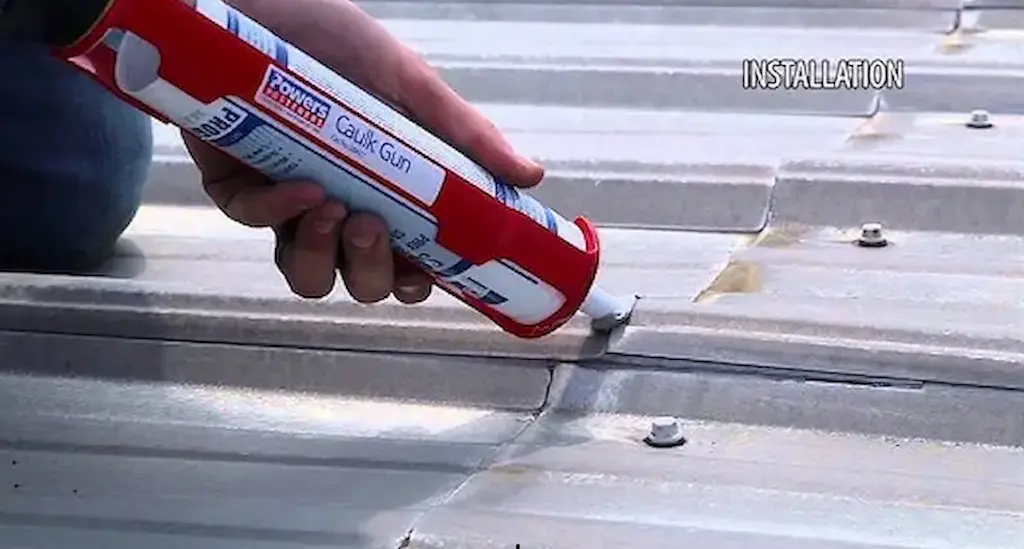
- Caulk Gun: For applying sealants.
- Roofing Felt: May be needed for additional protection.
- Roof Tile Repair Cement: Specialized cement for filling cracks.
Step-by-Step Guide to Fixing Cracked Roof Tiles
1. Safety First

Ensure you wear non-slip shoes, gloves, and a safety harness if necessary. Avoid working during wet or windy conditions.
2. Identify Damaged Tiles

Use binoculars to inspect the roof from the ground. Mark damaged areas with chalk or flags for easy reference.
3. Remove Damaged Tiles
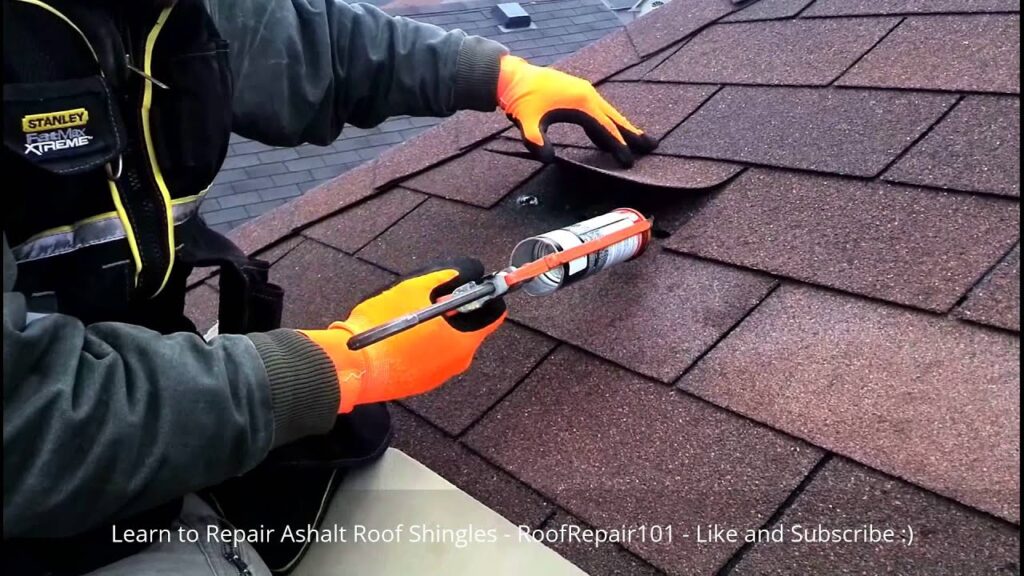
Carefully lift surrounding tiles using a pry bar. Loosen and remove the damaged tiles without breaking others.
4. Replace Tiles
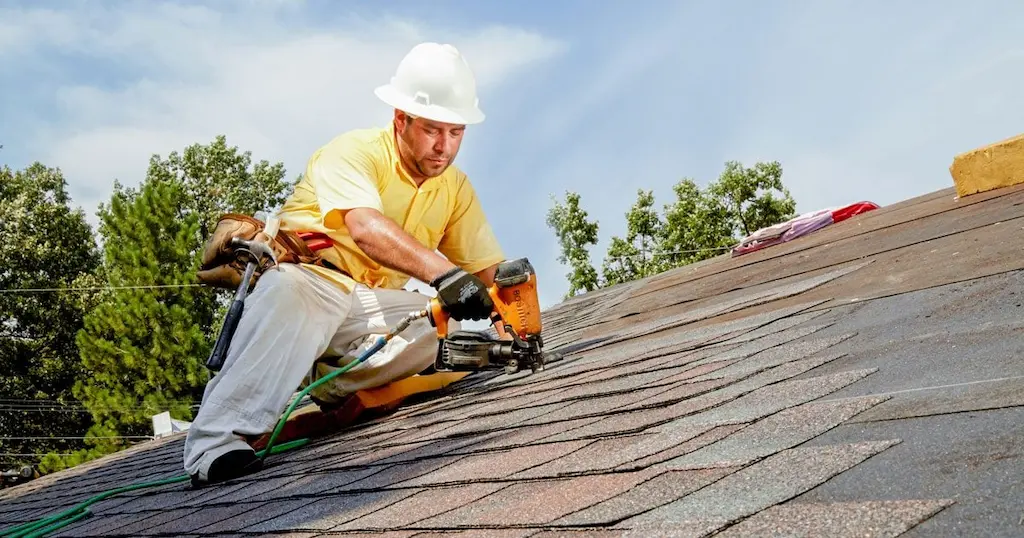
Slide new tiles into place, ensuring they align with existing ones. Secure with roofing cement and nails.
5. Re-Seal the Roof
Apply roofing sealant around new tiles to prevent leaks. Reapply sealant to any temporarily lifted tiles.
6. Repair Small Cracks
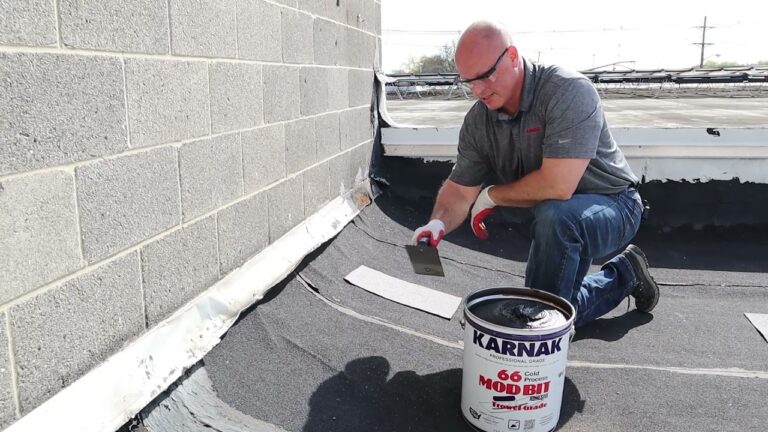
For small cracks, scrub the area clean and fill with roofing cement using a putty knife or caulking gun.
DIY vs. Professional Repair
While DIY roof repair can be cost-effective for minor issues, it poses safety risks and may not guarantee quality workmanship. Professional roof repair offers high-quality materials, warranties, and safety assurance.
Pros of DIY Repair:
- Cost-Effective: Lower upfront costs.
- Flexibility: Work at your own pace.
Cons of DIY Repair:
- Safety Risks: Potential for accidents.
- Quality Concerns: May not be as durable as professional work.
Pros of Professional Repair:
- Quality Assurance: High-quality materials and workmanship.
- Safety: Professionals handle safety protocols.
- Warranty: Often includes guarantees and insurance coverage.
Cons of Professional Repair:
- Higher Cost: More expensive upfront.
- Dependence on Scheduling: May need to wait for availability.
Conclusion
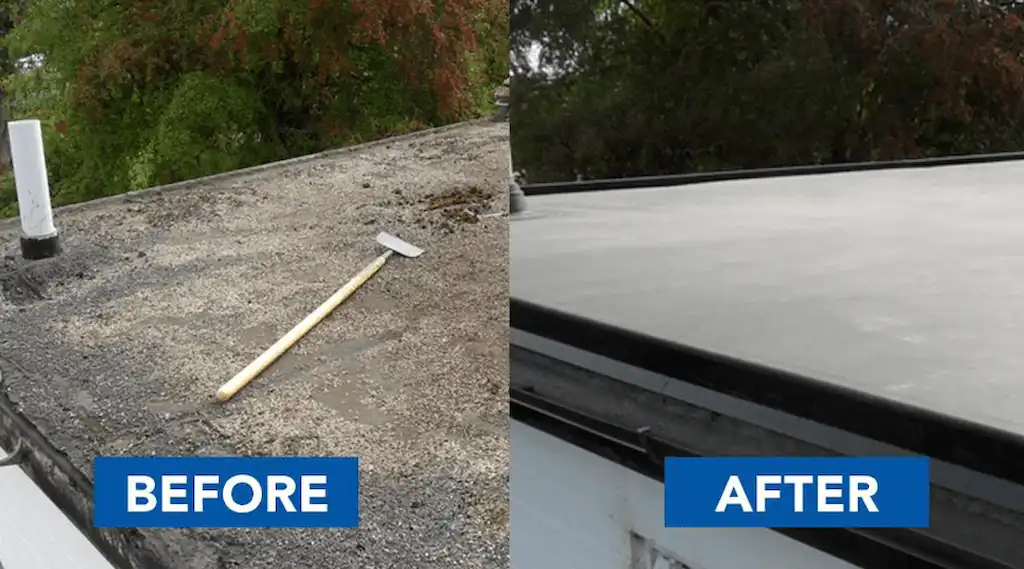
Fixing cracked roof tiles requires careful planning, the right materials, and attention to safety. Whether you choose DIY or professional repair, ensuring the job is done correctly is crucial to prevent future issues. Always consider your skill level, budget, and the complexity of the repair when deciding between these options.
Additional Tips:
- Regular Inspection: Regularly inspect your roof to catch issues early.
- Use Proper Materials: Ensure all materials match the original specifications.
- Consider Professional Help: For complex or extensive repairs, hiring a professional is advisable.
By following these guidelines and tips, you can effectively address cracked roof tiles and maintain a secure and durable roof for years to come.