Introduction to Loose Shingles
Loose shingles can be a significant issue for homeowners, as they can lead to leaks, structural damage, and increased maintenance costs if not addressed promptly. Whether caused by weather conditions, age, or improper installation, loose shingles require immediate attention to ensure the integrity of your roof. In this article, we will explore the causes of loose shingles, how to identify them, and most importantly, how to fix them effectively.
Causes of Loose Shingles
Loose shingles can result from various factors, including:
- Weather Conditions: High winds, heavy rainfall, and extreme temperatures can loosen shingles over time.
- Age: Older roofs are more prone to loose shingles due to the natural degradation of roofing materials.
- Improper Installation: If shingles were not installed correctly, they may become loose more quickly.
Identifying Loose Shingles
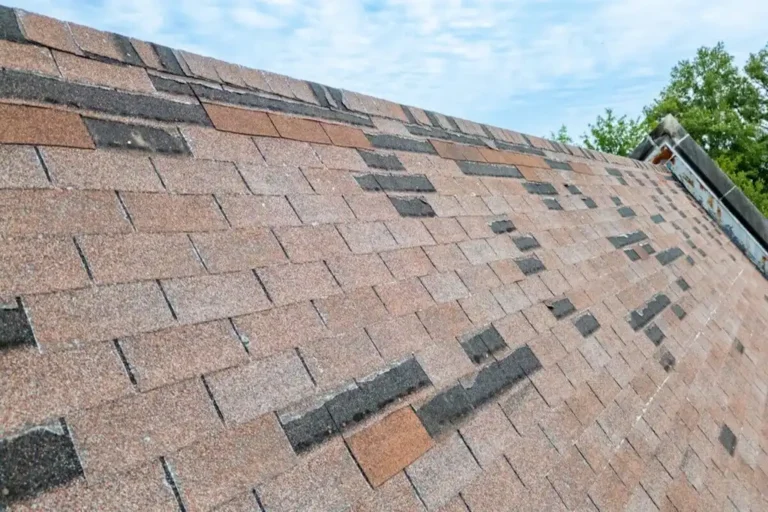
Identifying loose shingles is crucial for early intervention. Here are some signs to look out for:
- Visible Gaps: Look for gaps between shingles or where they are lifted from the roof surface.
- Missing or Damaged Shingles: Check for missing or damaged shingles, which can indicate underlying issues.
- Water Leaks: Leaks inside the house can be a sign of loose or missing shingles.
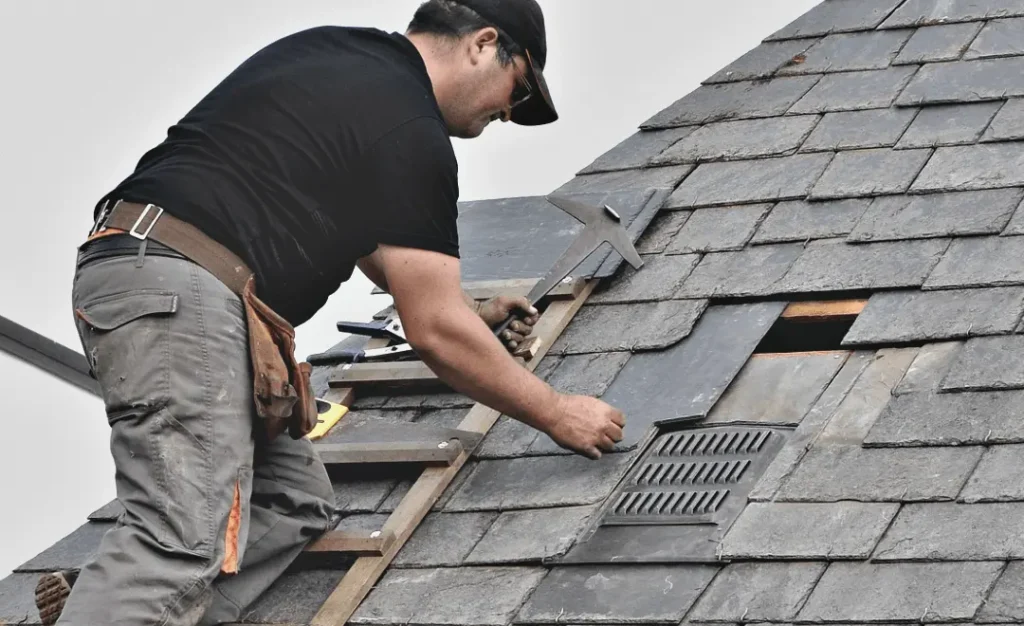
How to Fix Loose Shingles
Fixing loose shingles involves a few straightforward steps. Here’s a step-by-step guide:
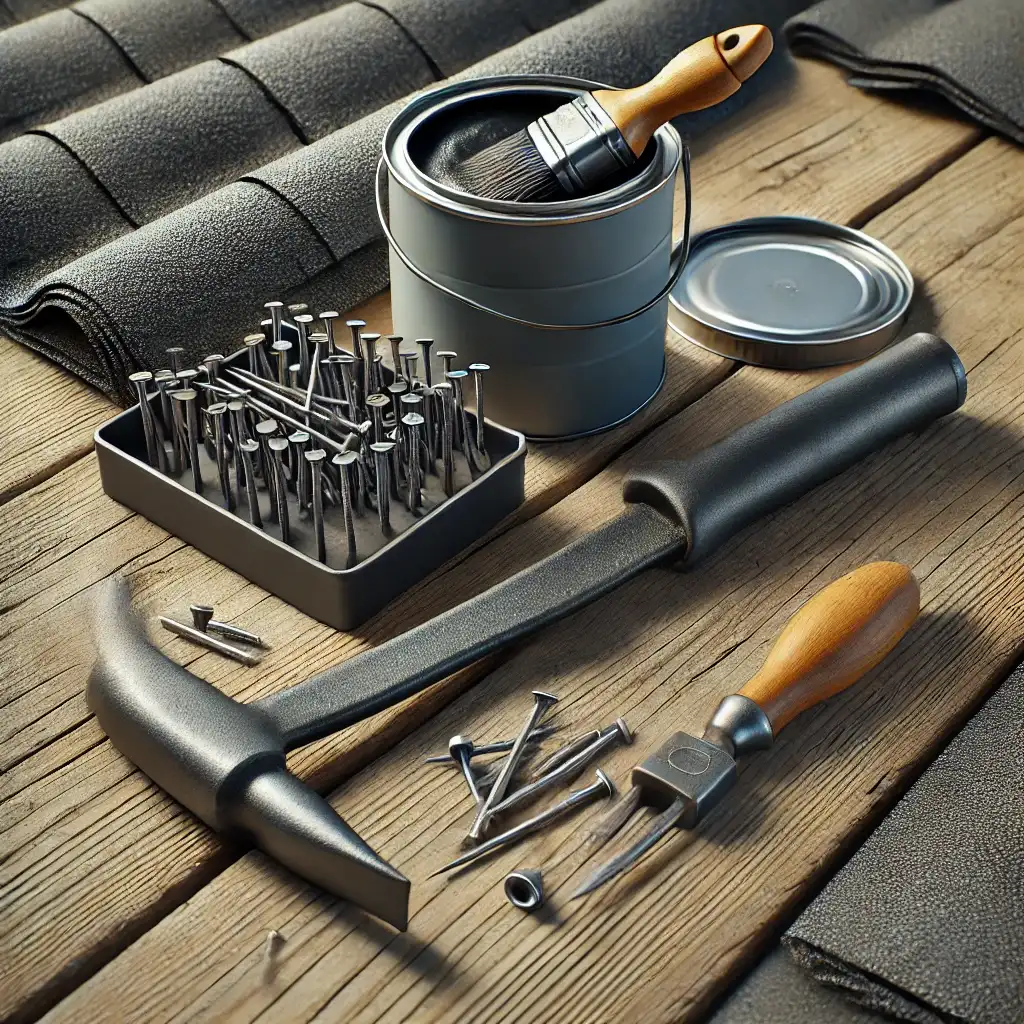
Step 1: Prepare Your Tools and Materials
Essential tools for DIY roof repair.
- Roofing Nails: Heavy-duty nails are essential for securing shingles.
- Pry Bar: Used to gently lift shingles without causing damage.
- Roofing Cement: For sealing edges and ensuring a watertight fit.
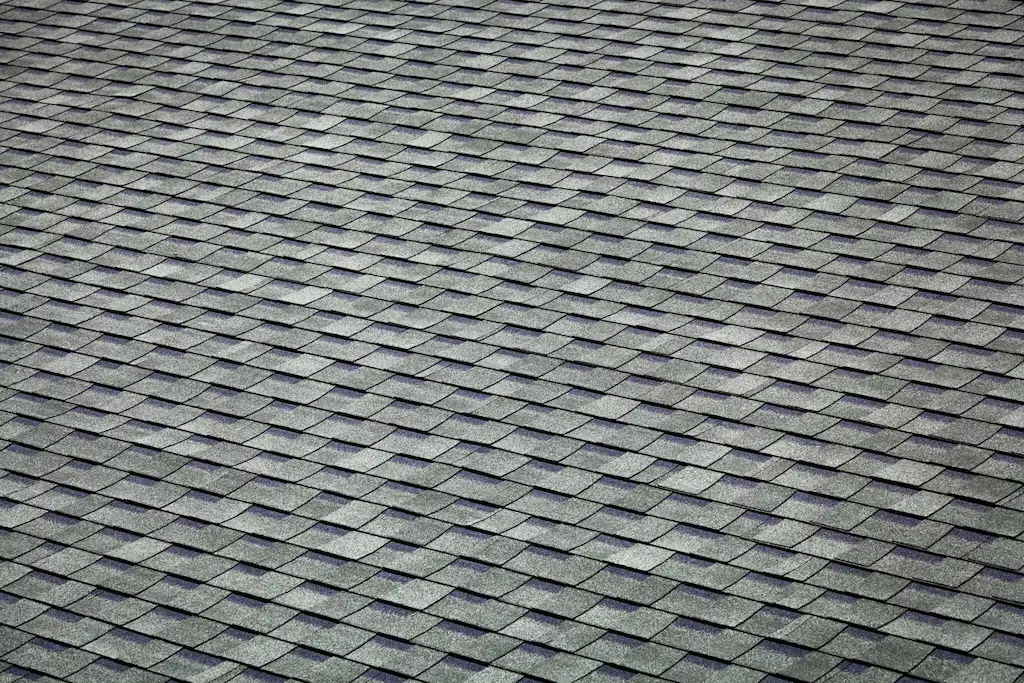
- Replacement Shingles: Match the style and color of your existing roof.
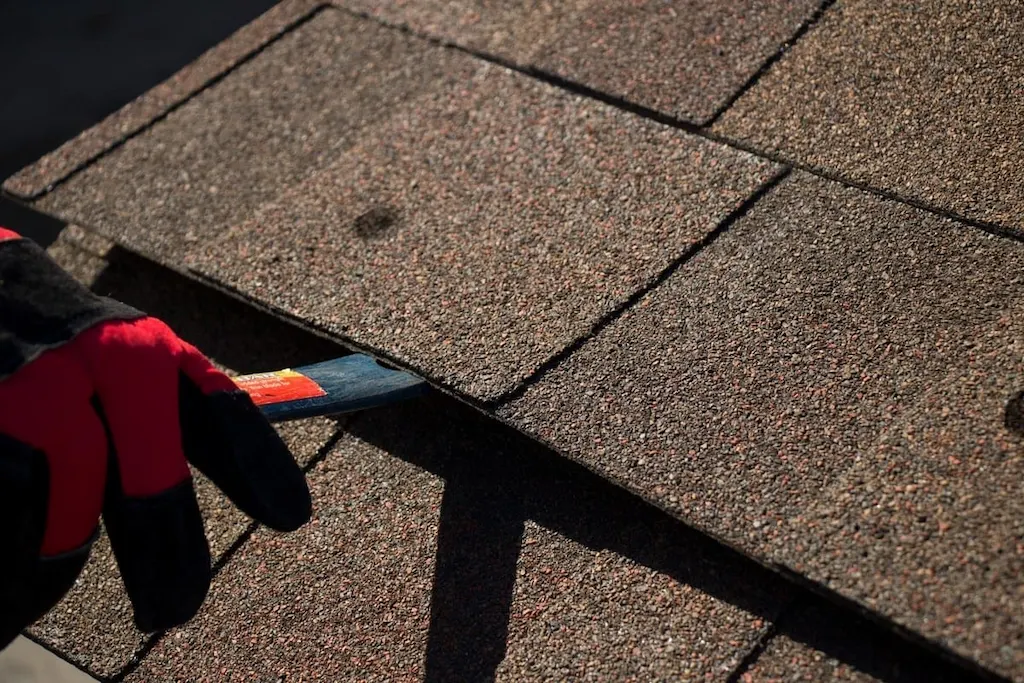
Step 2: Lift Surrounding Shingles
- Gently lift the edges of the surrounding shingles using a pry bar to expose the nails holding the loose shingle in place.
Step 3: Remove Loose Shingles
- Use the pry bar to carefully remove the nails securing the loose shingle. Pull out the shingle, taking care not to damage surrounding shingles.
Step 4: Clean the Area

- Remove any debris or old roofing cement from the area where the shingle was removed.
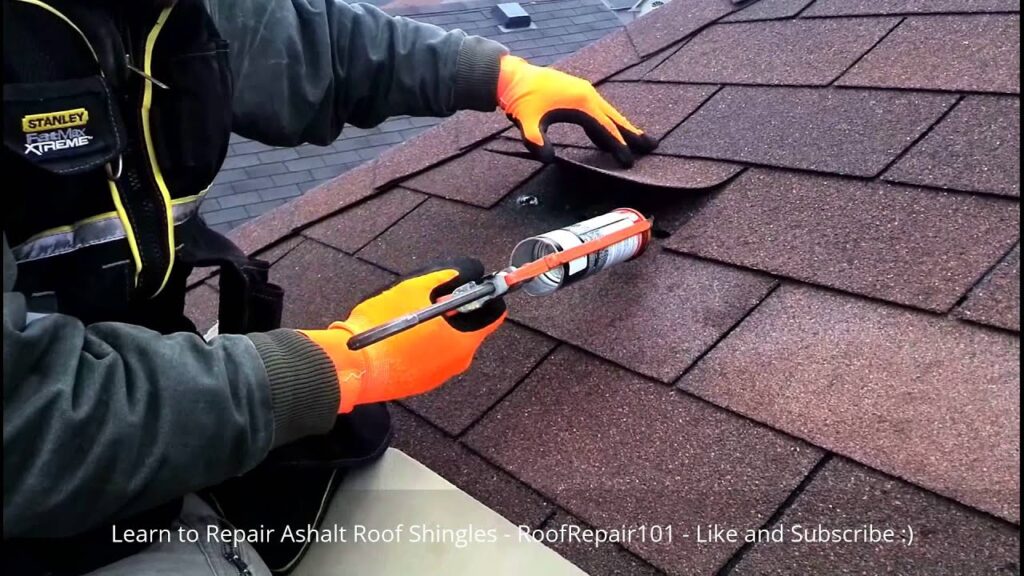
Step 5: Install New Shingles
- Slide the new shingle into place, ensuring it aligns with surrounding shingles. Secure it with roofing nails, using the holes from the previous nails if possible.
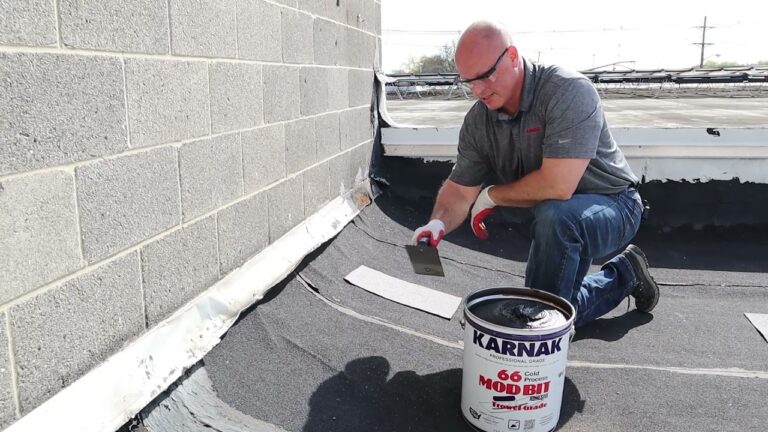
- Apply roofing cement under the new shingle and around its edges to seal it properly. detailed steps on repairing and replacing roof shingles.
Step 6: Inspect and Finalize
- Check that the new shingle is flush with the roof surface and properly sealed. Ensure all nails are secure and sealed with roofing cement.
Alternative Repair Methods
For minor issues, such as curled or cracked shingles, you might not need to replace them entirely. Here are some alternative methods:
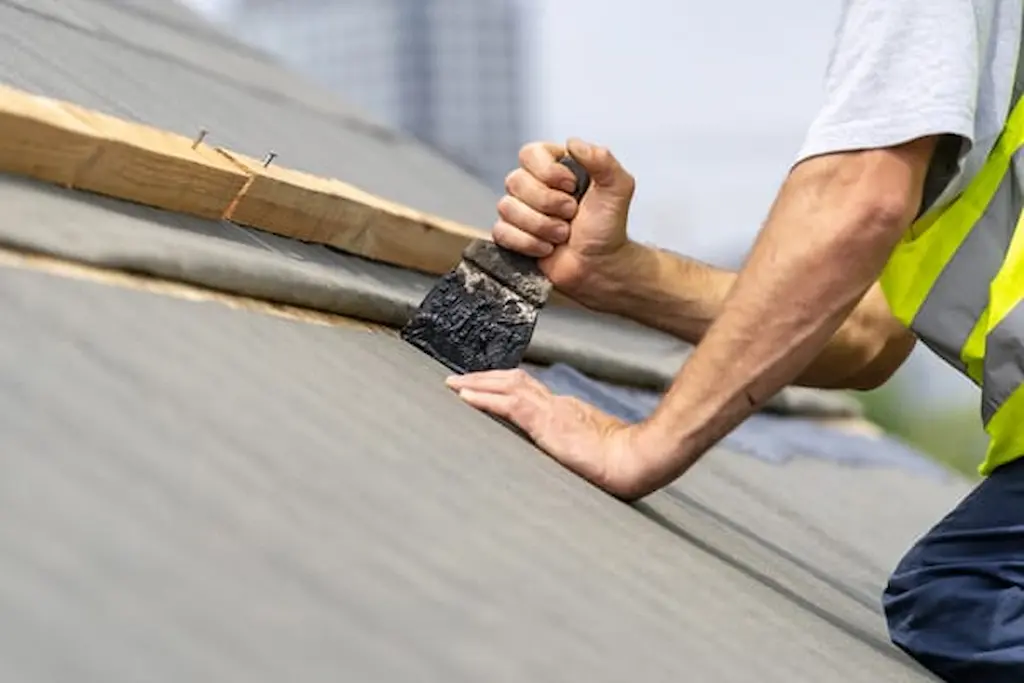
- Curled Shingles: Apply roofing sealant under the curled section and press it down firmly. Use a brick or heavy object to hold it in place for at least 24 hours.
- Cracked Shingles: Apply a thick bead of roofing sealant under the crack, press down firmly, and apply another bead on top. Use a putty knife to spread evenly.
Guide on how to patch a leaky roof.
Using HSS® Sealant Tape for Quick Repairs
For a quicker fix, especially for small gaps or damaged areas, HSS® Sealant Tape can be a convenient option. This tape provides a watertight seal with minimal effort and is designed to withstand harsh weather conditions.
Preventative Maintenance
Regular maintenance is key to preventing loose shingles: Learn more about regular maintenance tips for your roof
- Regular Inspections: Check your roof regularly for signs of damage or wear.
- Secure Loose Shingles: Use roofing cement or nails to secure any loose shingles promptly.
By following these steps and tips, you can effectively fix loose shingles and ensure your roof remains secure and watertight. Remember, addressing issues early can save you from more significant problems down the line.